
Register a new domain name with Network Dynamics
Establishing your online identity begins with securing the right domain name. At Network Dynamics, we make it easy to register and manage your domain name, giving you full control over your brand’s digital presence. This step-by-step guide will walk you through the process to register a new domain, configure DNS settings, and make the most of powerful domain management features for a seamless experience.
How to register a domain name
1. Visit our website and navigate to the Domains section, or go directly to https://networkdynamics.com/domains/
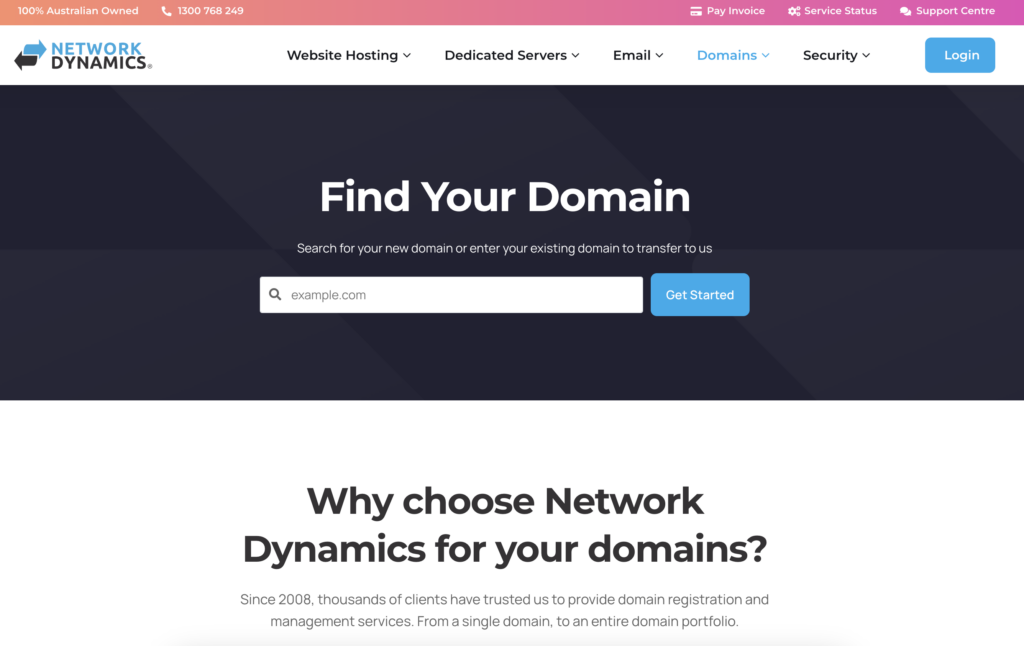
2. Enter the domain name you want to register in the search bar.
- A green tick confirms availability
- A red X means the domain is already taken
- Not available? Try variations like
.com.au,.net.au, or add hyphens (e.g.your-brand.com)
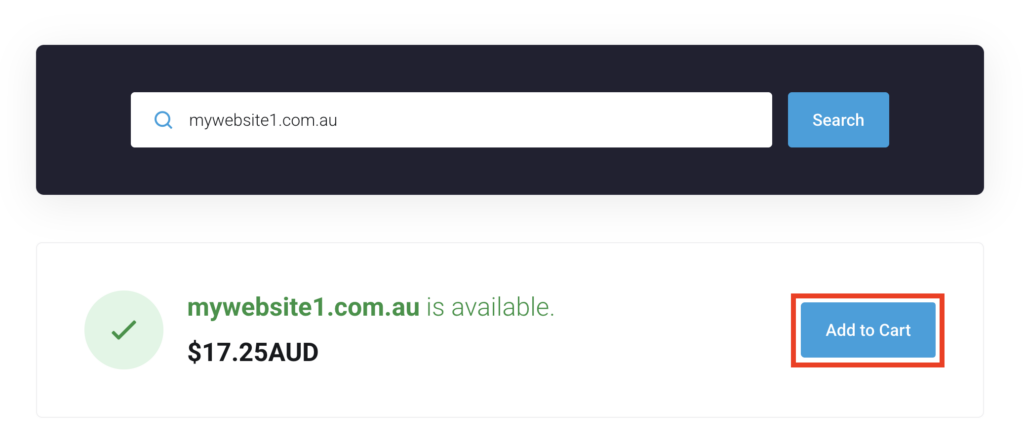
- Once you find an available domain, click ‘Add to Cart’, then select ‘Continue’ in the bottom right corner.
Configure your domain registration
3. Enter the required registrant information (e.g. ABN, ACN for .au domains) and nameservers.
- If unsure about nameservers, you can leave them as default.
Note: For .au domains, you must meet eligibility requirements set by auDA. Visit the auDA website to learn more.
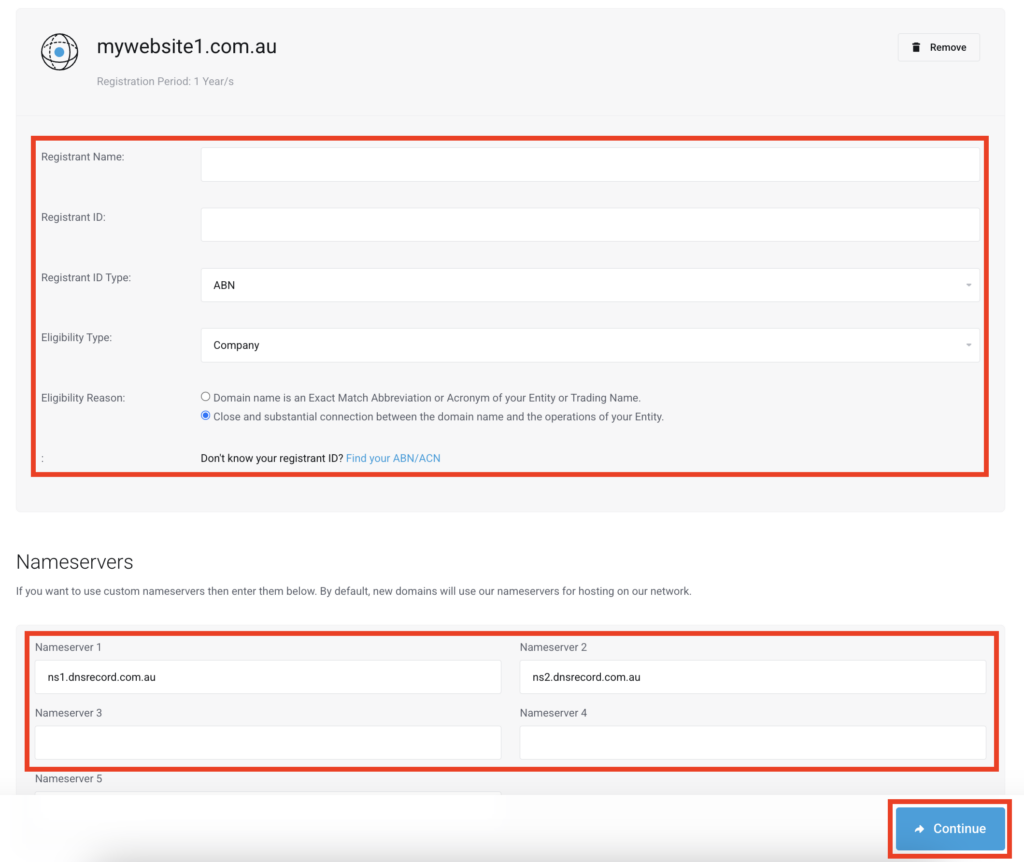
- Once entering all the registrant information and nameservers , click ‘Continue‘ to proceed.
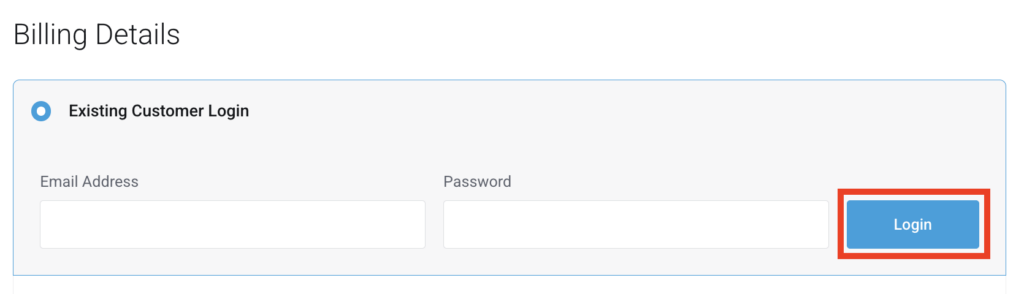
Set up your Network Dynamics account
4. If you’re a new client, choose Create New Account and fill in your details.
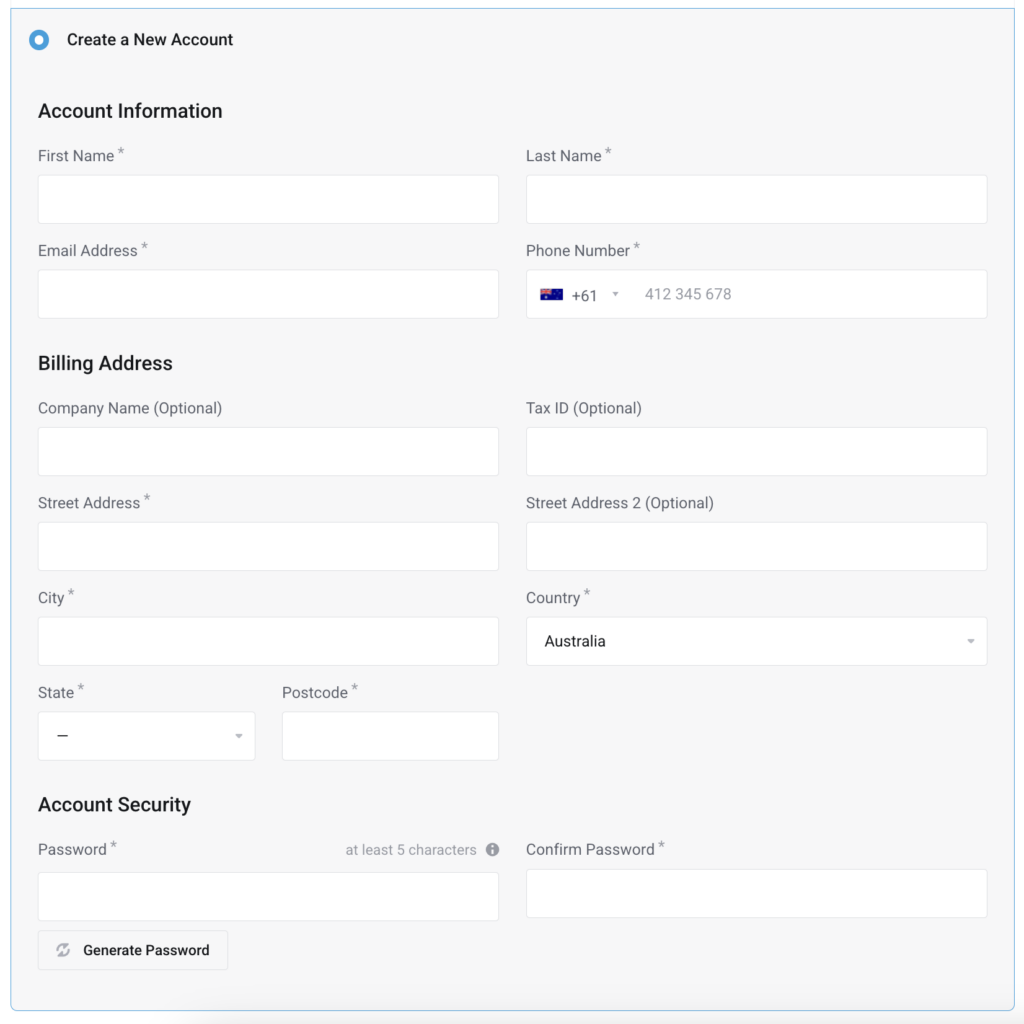
Existing clients can log in using their account credentials.
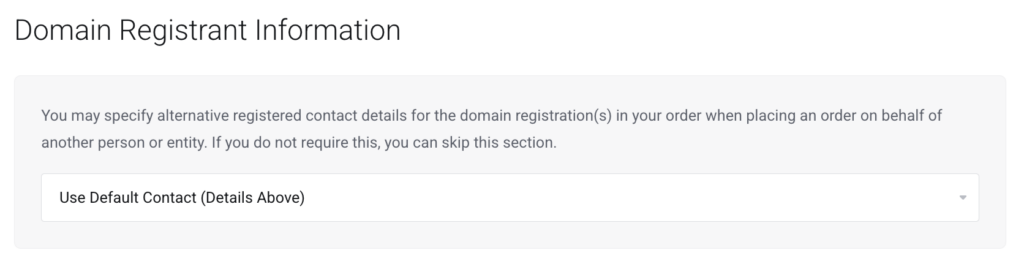
Add registrant contact details
5. Choose to use your default contact information or add new registrant contact details for the domain.
Select your payment method
6. Choose from the following payment options:
- Credit card (automatic billing)
- PayPal (automatic billing)
- BPAY (manual, 1–3 business days processing)
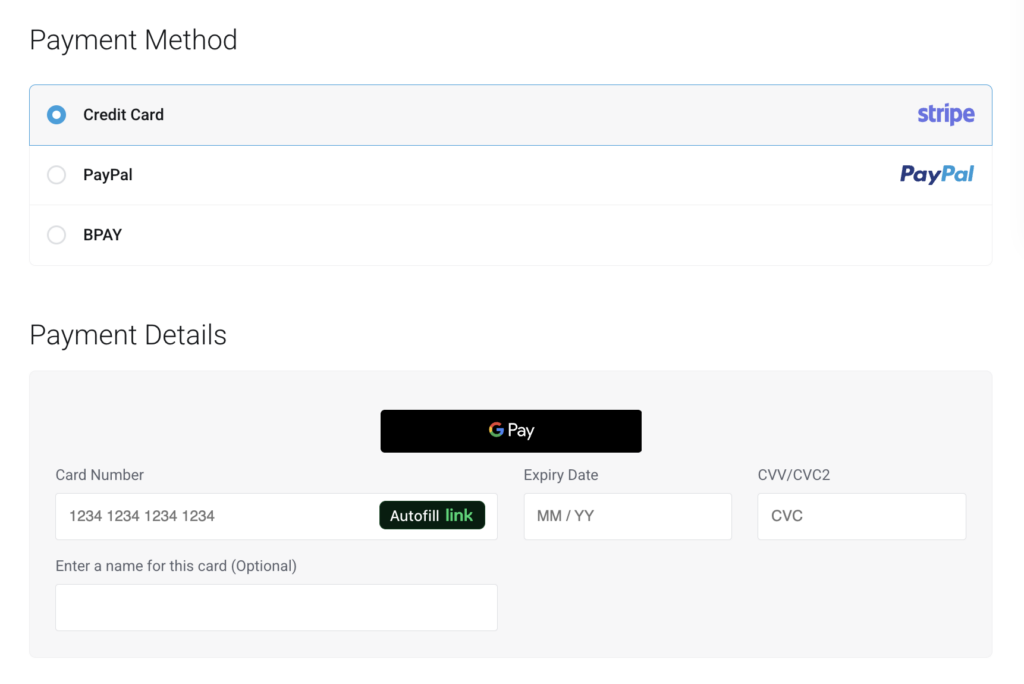
Note: This will establish your default payment method for recurring invoices, which can be updated later through the Client Area – see How to change your default billing method.
Complete the domain registration
7. Review your order, then click Checkout.
- You’ll receive a confirmation email once the registration is complete.

8. You can now manage your domain via your Network Dynamics client area.
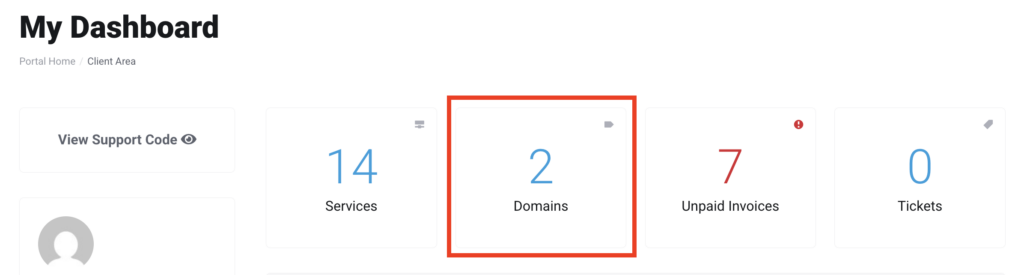
Manage your domain settings
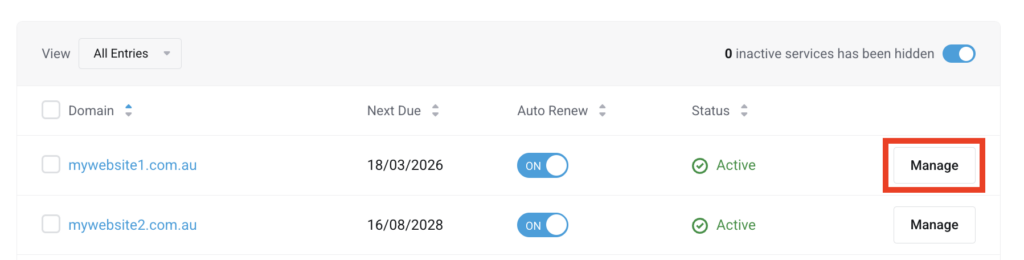
1. Log in to your client area, then click ‘Domains‘ on the dashboard.
2. Click ‘Manage‘ next to the domain you wish to configure.
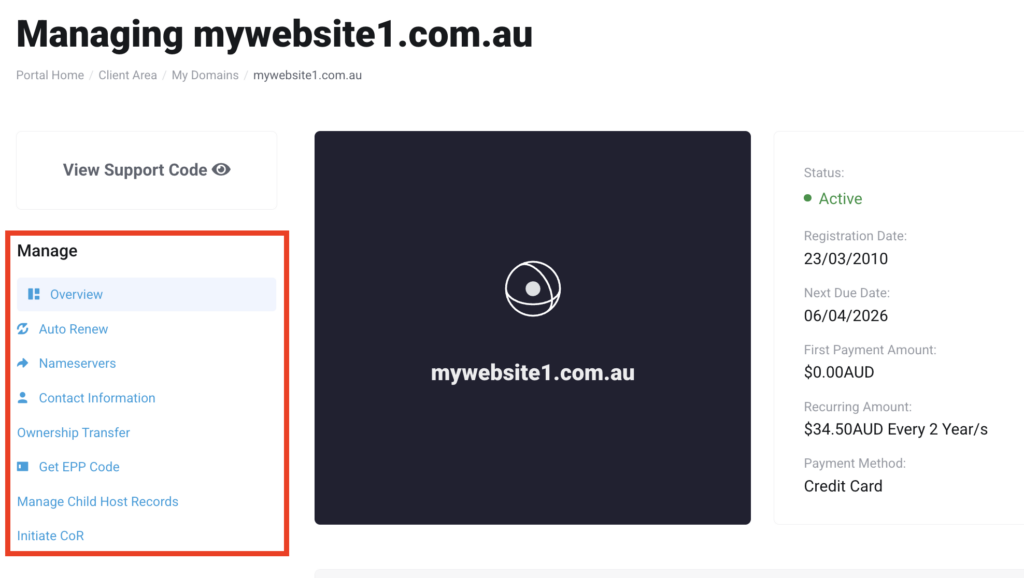
3. Once this step is finished, your ‘Domain’ page will show a ‘Manage’ section, offering a range of tools to manage your domain.
4. Then, to verify your domain’s auto-renew status, refer to our guide here: Domain Renewal: view and manage auto-renewal settings.
5. Then, to modify your nameservers, check out our guide here: How to change the nameservers for your domain.
Get EPP code or domain password
6. If you need to transfer your domain to a different person, refer to our guide here: Transfer services to a New Network Dynamics account holder.
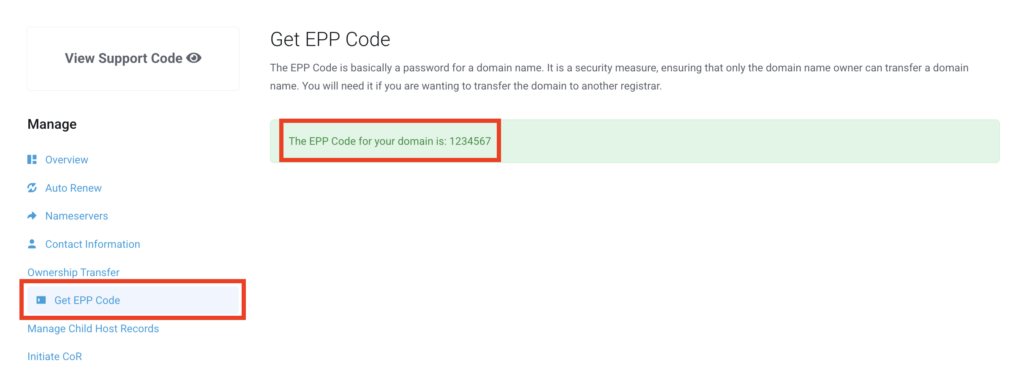
7. To obtain your ‘Domain Password’ or ‘EPP Code,’ click on the ‘Get EPP Code’ option. You’ll be directed to the ‘Get EPP Code‘ page for the chosen domain. Once there, simply copy and store the code safely. You’ll need this code if you plan to move your domain to another registrar.
Manage custom child host records
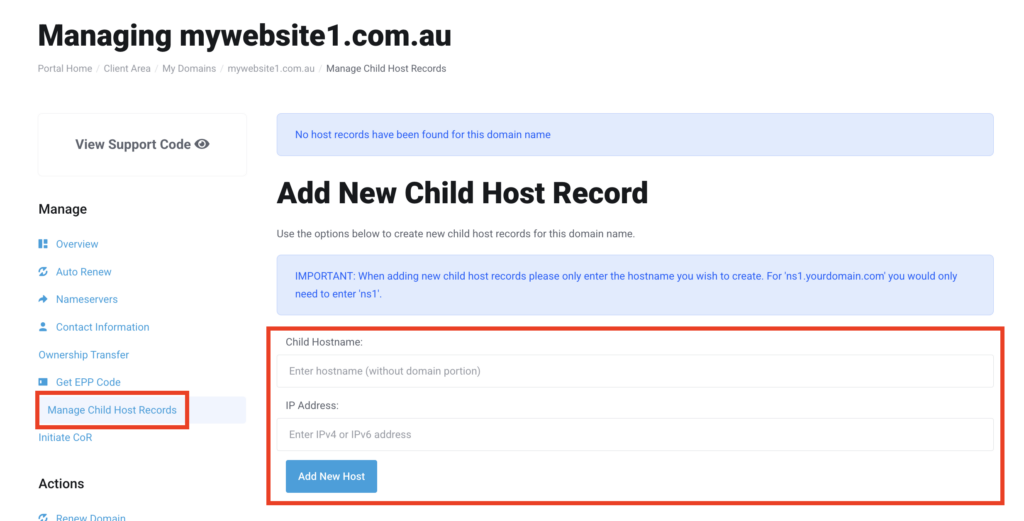
8. To set up a ‘Child Host Record‘ in your domain management panel, click on ‘Manage Child Host Records.’ Next, enter the desired ‘Child Hostname‘ (e.g., s1.mywebsite1.com.au) in the hostname field. Then, provide the server’s IP address and save the record.
Note: A Child Host Record (also known as a “Glue Record”) allows you to create custom nameservers for your domain, such as ns1.yourdomain.com, and associate them with specific IP addresses. This feature is useful for creating personalised nameservers, rather than using the default ones provided by your hosting service. It’s particularly helpful for web hosting resellers looking to brand their nameservers. Be aware that updates can take up to 48 hours to propagate across the internet.
Initiate change of registrant for .au domains
9. This feature is exclusive to .au domains. To start the Change of Registrant (CoR) process, navigate to the management section of your domain page and click on the ‘Initiate COR‘ option. The CoR details will appear. Choose the renewal period you prefer (please note that initiating a Change of Registrant will reset the domain’s renewal period). Afterward, click ‘Create Invoice,’ and a CoR email will be sent to the registrant’s email address. Follow the instructions in the email to update your ABN.

Conclusion
In conclusion, a strong domain strategy is crucial for building a successful online presence. Network Dynamics offers intuitive tools that make it easy to register and manage your domain name, keeping your settings secure and up-to-date. With these features, you can streamline daily tasks while ensuring your website is positioned for long-term success.
Effective domain management not only improves your website’s performance but also enhances user experience. By leveraging the robust tools provided by Network Dynamics, you can confidently register and manage your domain name, keeping your online operations reliable and competitive. Additionally, staying proactive with domain configurations allows you to respond quickly to evolving needs and safeguard your digital presence.