
If you want to speed up your WordPress site without spending money or dealing with complex configurations, installing a caching plugin is a great place to start. In this guide, you’ll learn how to install and use WP Super Cache step by step using the latest version available.
Why use WP Super Cache?
When your website experiences traffic spikes or slow page loads, caching can help solve these issues. WP Super Cache creates static HTML versions of your pages and serves those to users instead of generating content from scratch each time. As a result, page loading times are significantly reduced.
The key benefits include:
- Improved performance during high traffic periods.
- Faster page load speeds for both visitors and search engines.
- Lower server resource usage, which can extend the life of your hosting environment.
- Better user experience, as pages load more quickly and consistently.
Install WP Super Cache
To get started, follow these simple steps:
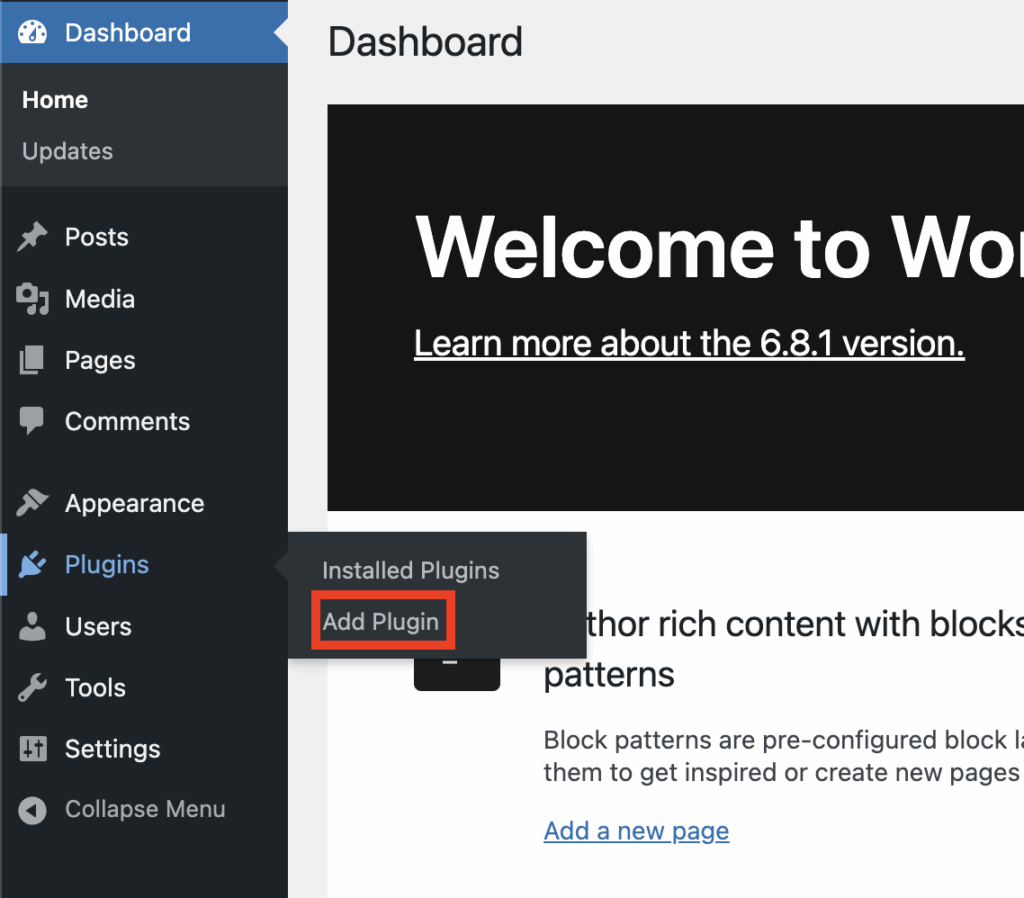
1. Log in to your WordPress dashboard.
2. Navigate to Plugins > ‘Add New‘.
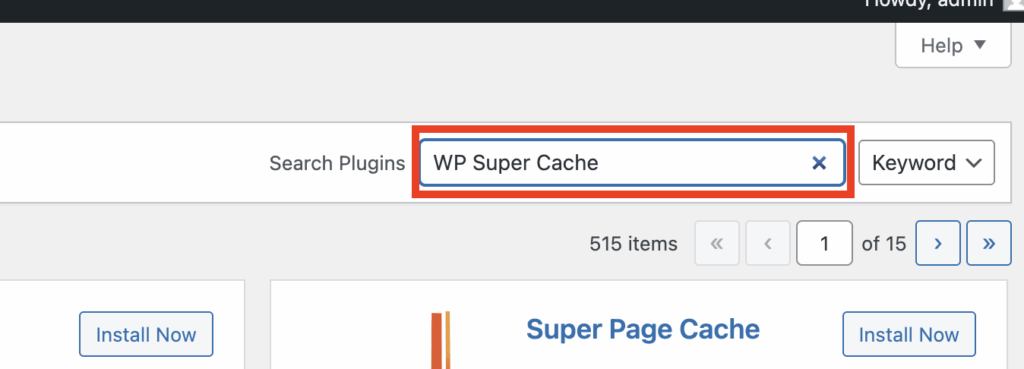
3. In the ‘search box‘, type WP Super Cache.
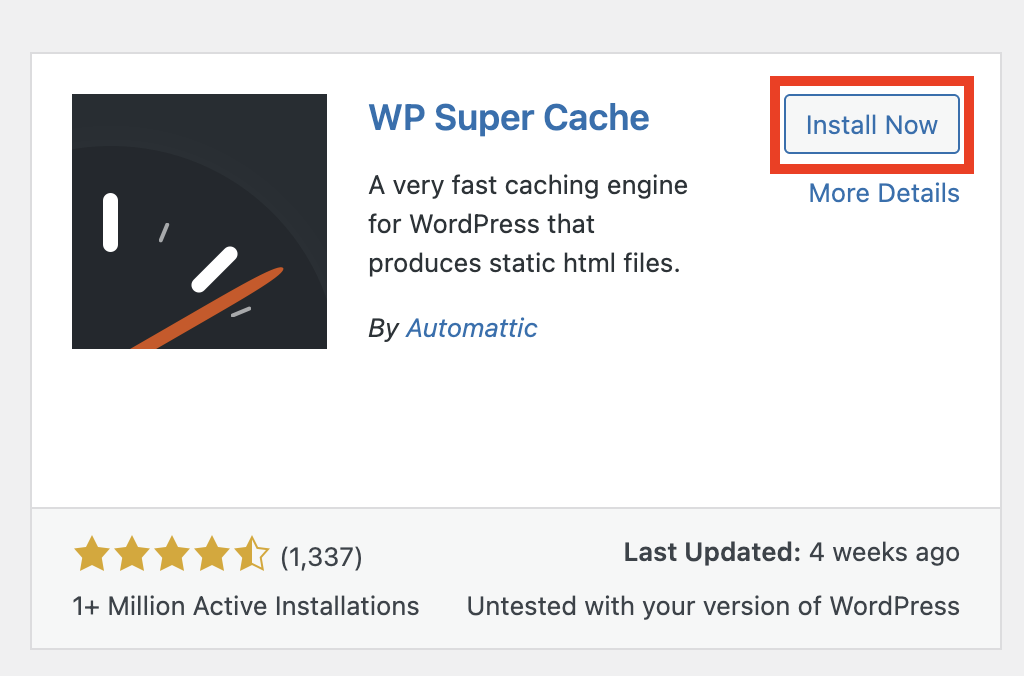
4. Click ‘Install Now‘.
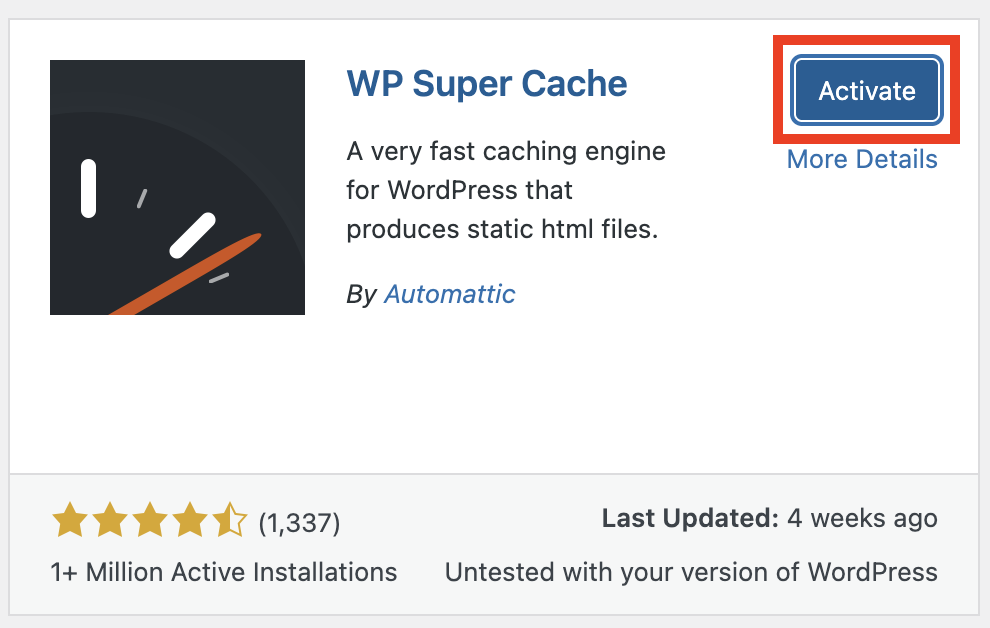
5. After installation, click ‘Activate‘.
Turn on caching
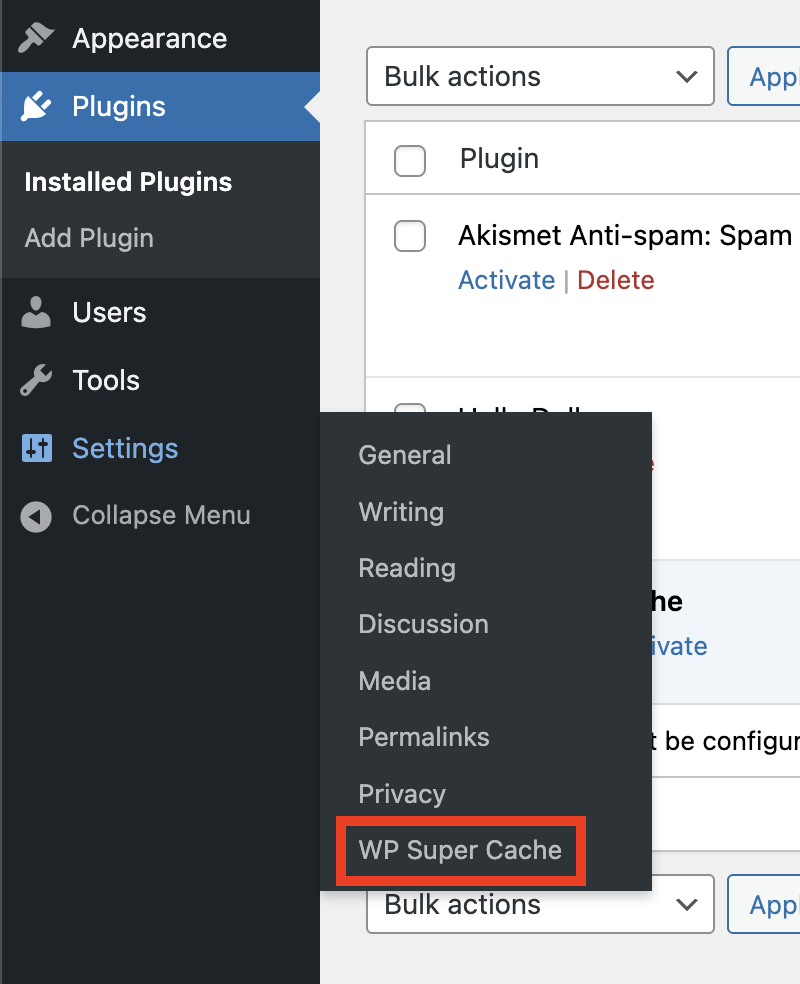
1. Go to Settings > WP Super Cache.
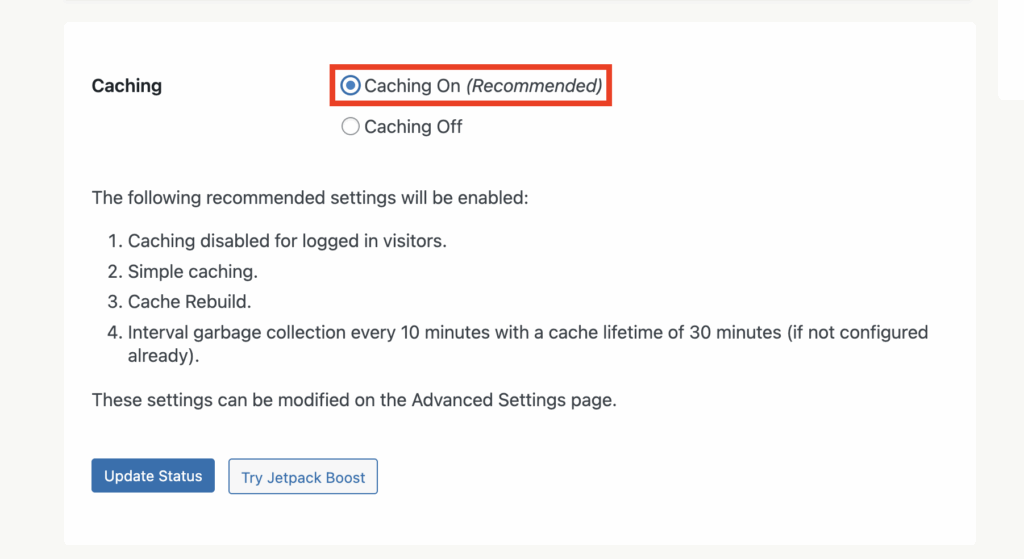
2. Under the Easy tab, select Caching On. Then click ‘Update Status‘.
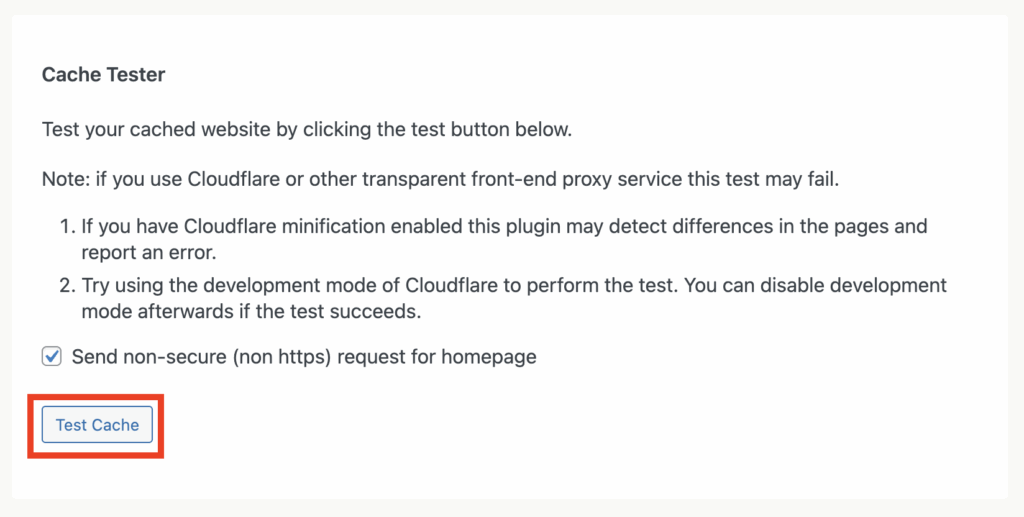
3. Click ‘Test Cache‘.
Configure advanced settings
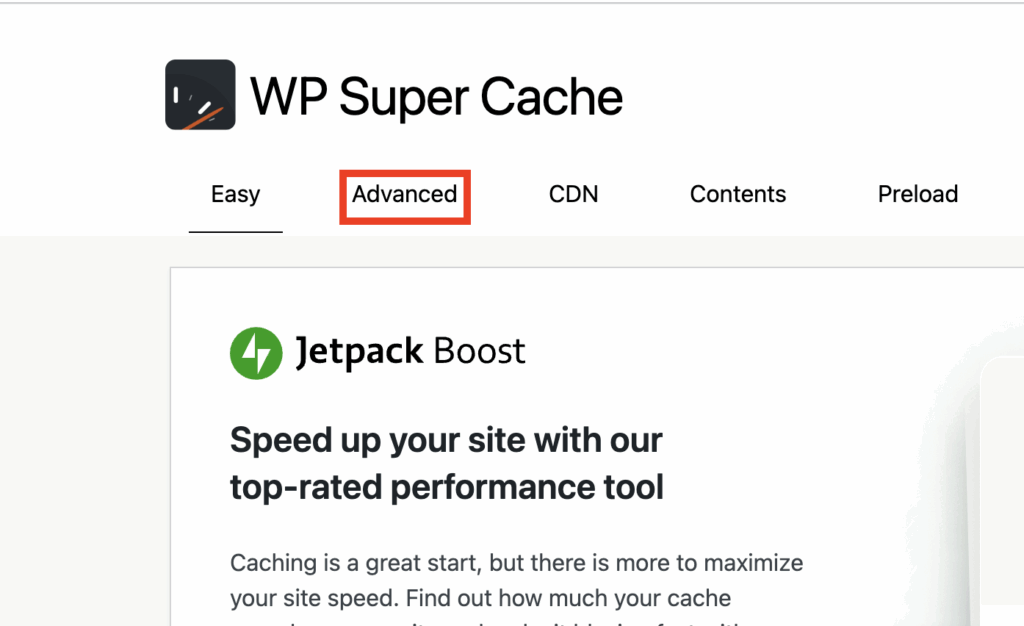
1. Go to the ‘Advanced tab‘.
2. Tick ‘Enable Caching‘, choose ‘Simple‘ as the delivery method, select ‘Disable caching for logged-in visitors’, and then tick ‘Cache Rebuild‘.
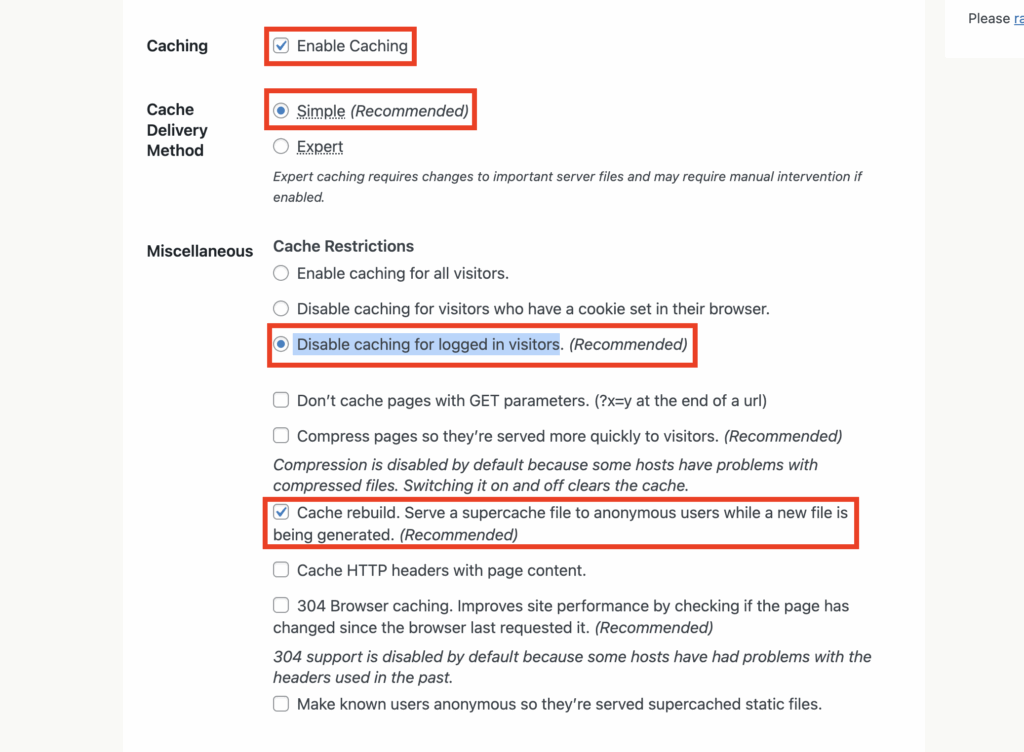
3. Click ‘Update Status‘ to save changes.
Clear cache after updates
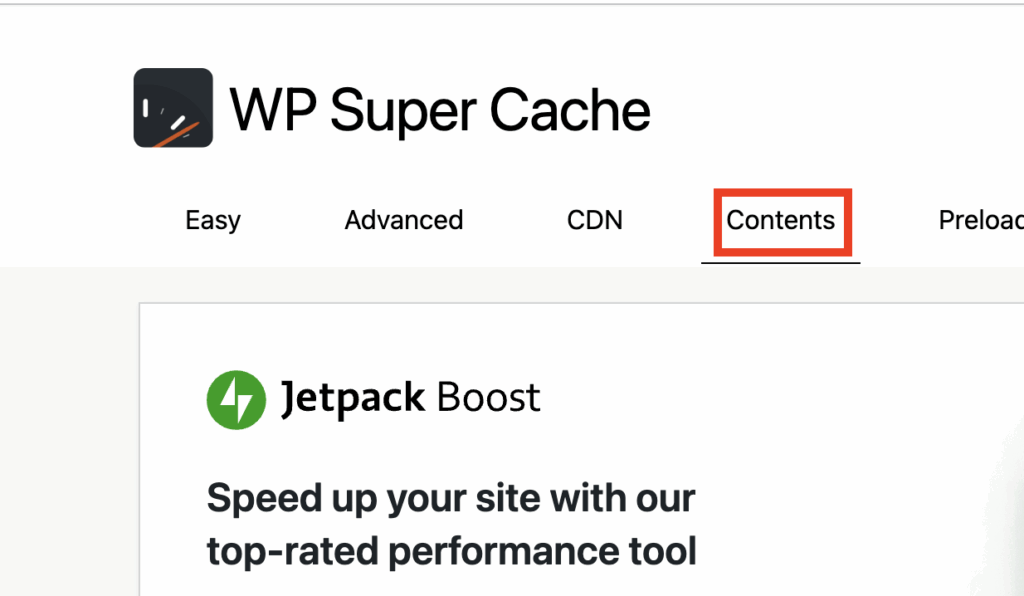
1. Go to Settings > WP Super Cache.
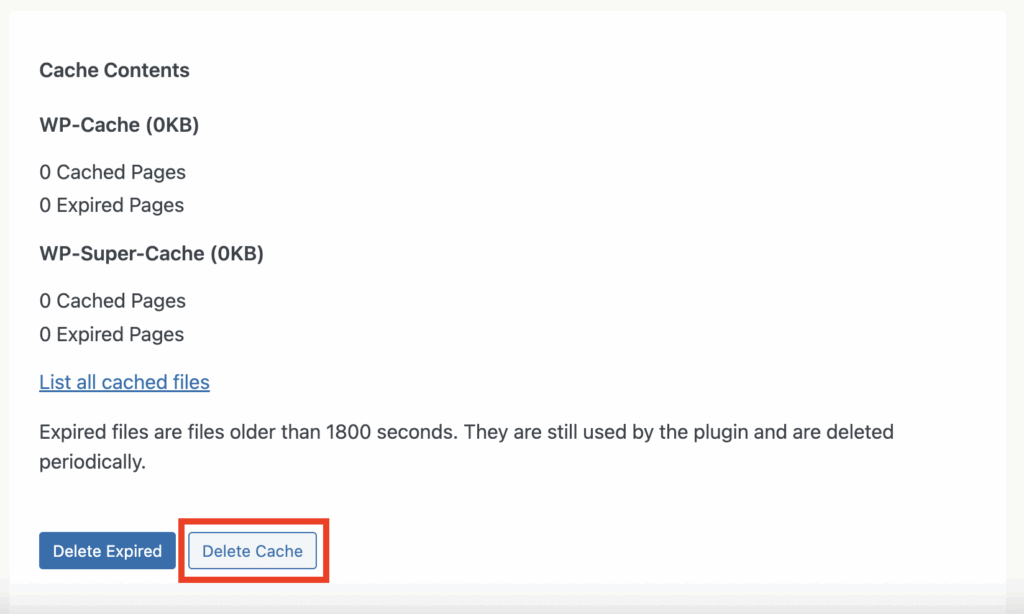
2. Click the ‘Contents‘ tab.
3. Select ‘Delete Cache‘.
Conclusion
When you install and use WP Super Cache step by step, your site becomes faster and more
efficient. Regularly clearing the cache and fine-tuning your settings ensures optimal performance.
At Network Dynamics, we encourage using performance tools like WP Super Cache with our hosting
services. For help, contact the Network Dynamics support team.