This topic covers processes requiring access to your Network Dynamics Client Area. If you’re unsure how to access the Client Area, please follow this guide before continuing – How do I Login to my Network Dynamics Client Area?
Managing your hosting environment effectively begins when you log into WHM. This guide is designed to help you easily log into WHM using the correct credentials and URL.
What is WHM? #
WHM (Web Host Manager) on a web server to manage and configure web hosting (cPanel) services on your dedicated server. A web-based user interface simplifies the creation and management of hosting services and server configurations.
To access WHM on your dedicated server #
If your dedicated server is configured with WHM, you can use the steps below to find the username & password. You’ll then be able to use them to login and manage the cPanel account(s) along with other related settings on the service.
1. First, login to your Network Dynamics Client Area
2. After that, click ‘Services‘ in the menu at the top or from the Dashboard page.
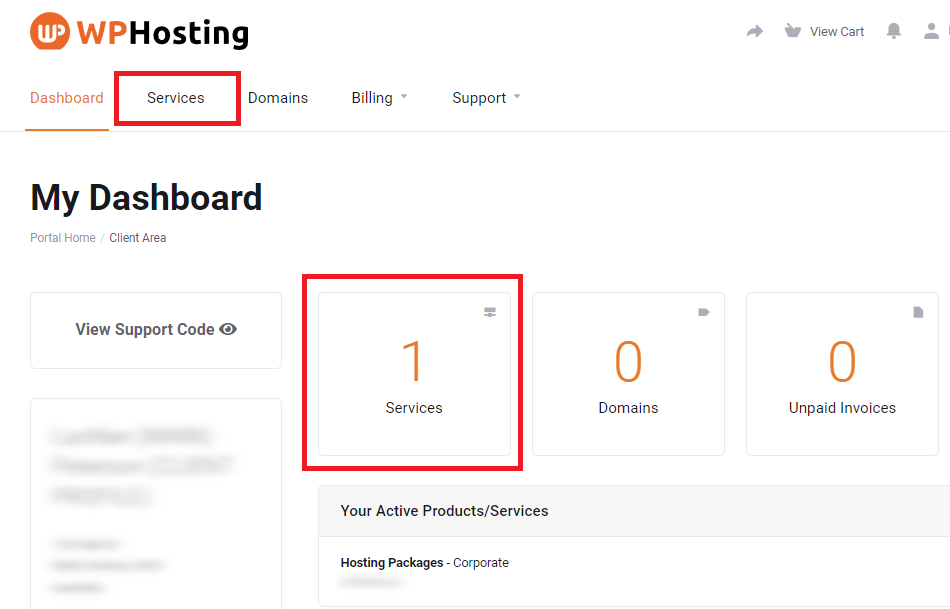
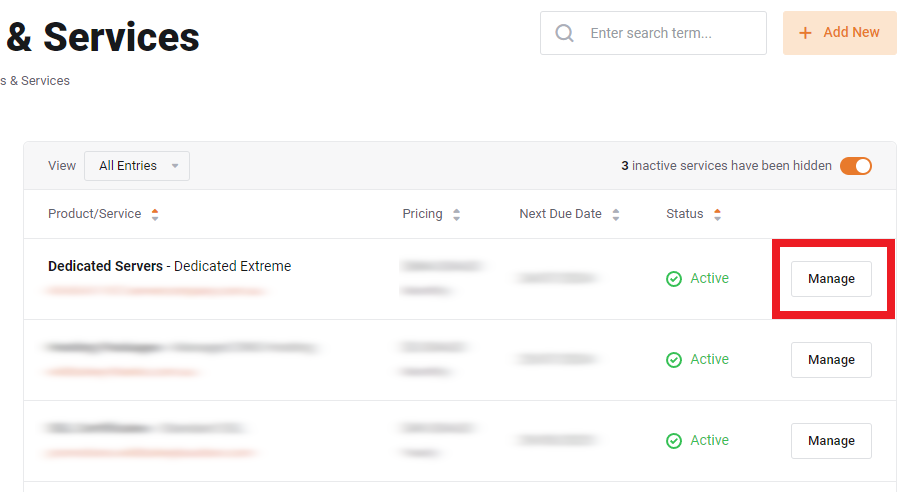
3. Then, find the dedicated server you want and click the ‘Manage‘ button
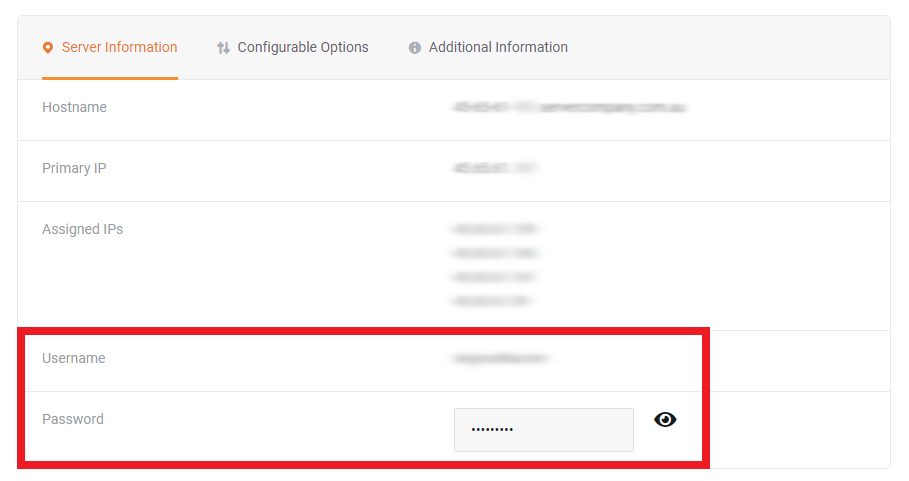
4. After that, scroll down to see the “Server Information” section. Then, this area will show important information for your dedicated server.
Take note of the Hostname, Username and Password shown here.
Please Note: The password will be hidden, by default. Click the “eye” icon to reveal the actual password.
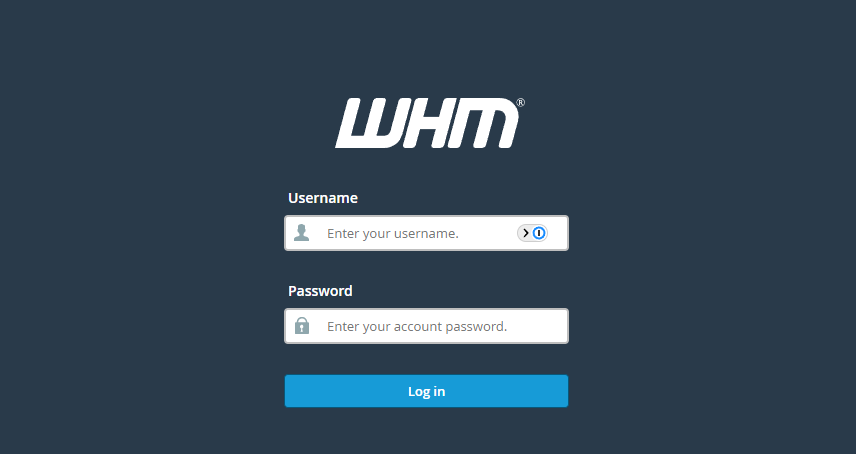
5. Then, you’ll need to visit the WHM login URL by appending the WHM port number (2087) to the end of the hostname.
The login URL will follow the format of hostname, colon(:), port number(2087) shown in the example below:
- 45-65-61-000.servercompany.com.au:2087
Please Note: Be sure to replace the “45-65-61-000” in this example with your actual hostname from step 4.
6. After that, once you have the username, password and hostname, navigate to the WHM login URL (again, this will vary based on your service) and enter the username and password you retrieved in step 4.
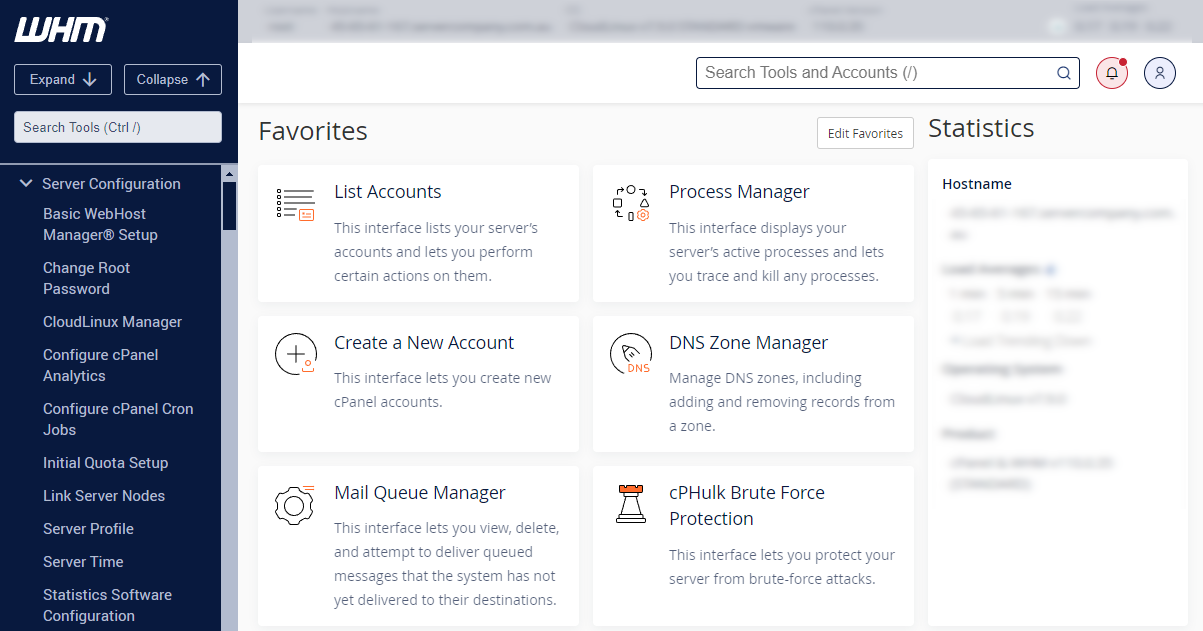
7. Finally, click ‘List Accounts‘ to view the cPanel account installed on your WHM server
In summary, knowing how to log into WHM is essential for efficient server management. Once you log into WHM, you’ll have access to powerful tools that simplify website administration and enhance your overall hosting experience.