
This guide walks you through how to manage plugins and themes with WordPress Management inside your cPanel hosting environment.
Before you begin: To follow the steps in this guide, you must be logged in to your cPanel account.
If you’re unsure how to access cPanel, check this guide first: How do I log in to cPanel?
Note: Some advanced features in the WordPress Management tool (such as staging or cloning) are only available on Business/Commerce hosting plans or higher.
What is the WordPress Management tool in cPanel?
Previously known as WordPress Toolkit, cPanel’s WordPress Management tool is a convenient interface designed to help you manage key aspects of your WordPress installations. It streamlines tasks like updating plugins and themes, enabling maintenance mode, accessing file management, and more—all from one place.
To launch the tool:
- Use the vertical navigation on the left side of cPanel, or
- Scroll through the main tools and locate it under the “Domains” section.
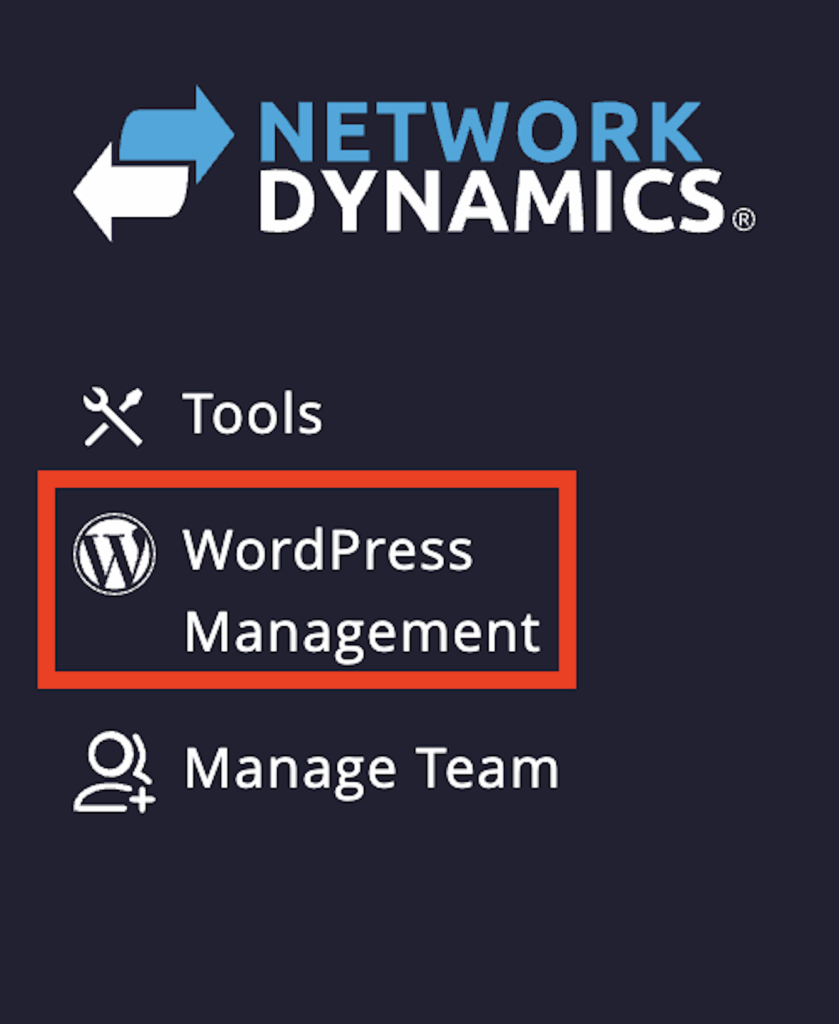
Once opened, you’ll land on the main dashboard where your WordPress installations are listed.
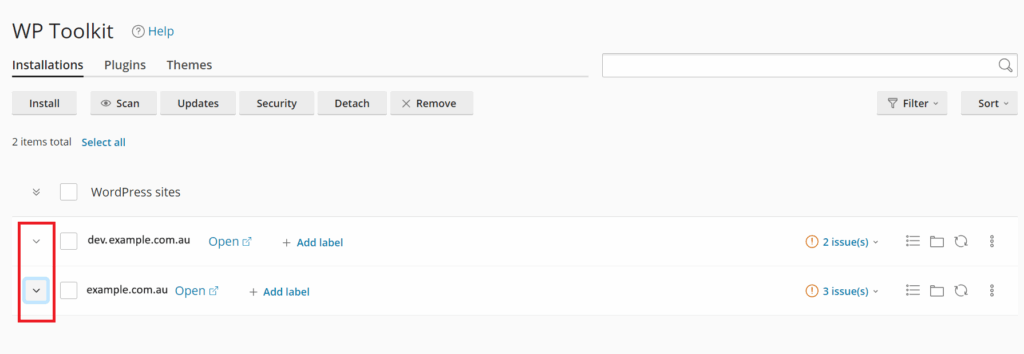
Navigating the WordPress Management interface
If you don’t immediately see all available options for your WordPress site (such as the preview or action buttons), click the down arrow icon next to your domain. This expands the full control panel for that specific site.
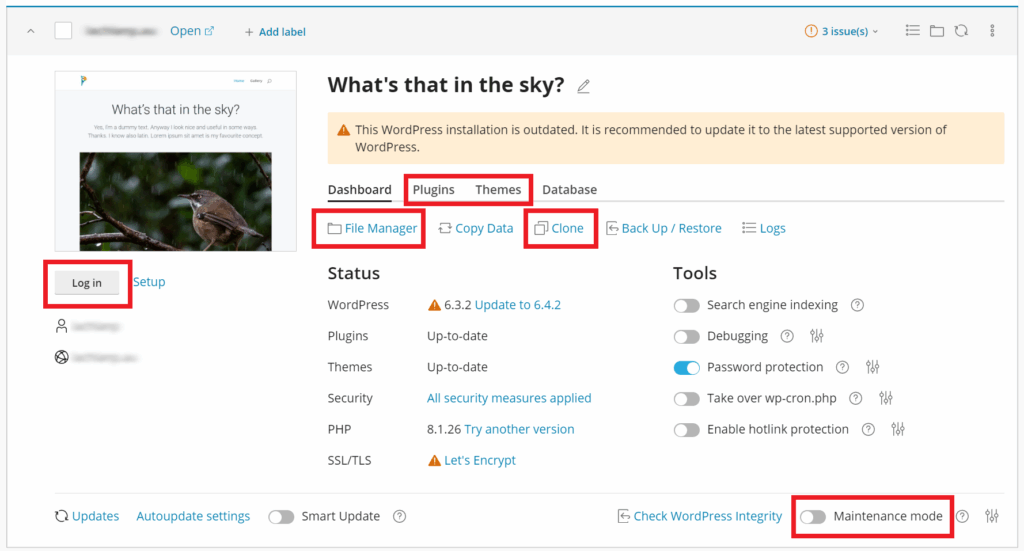
From this expanded view, you can:
- Use clone and backup options (if available)
- Log in directly to your WordPress admin area
- Access the File Manager
- Enable or disable maintenance mode
- Manage plugins and themes
How to update plugins and themes
Updating your plugins and themes regularly is essential for performance and security. Here’s how to do it with the WordPress Management tool:
1. Select the ‘Plugins’ or ‘Themes’ tab at the top of your WordPress Management screen.
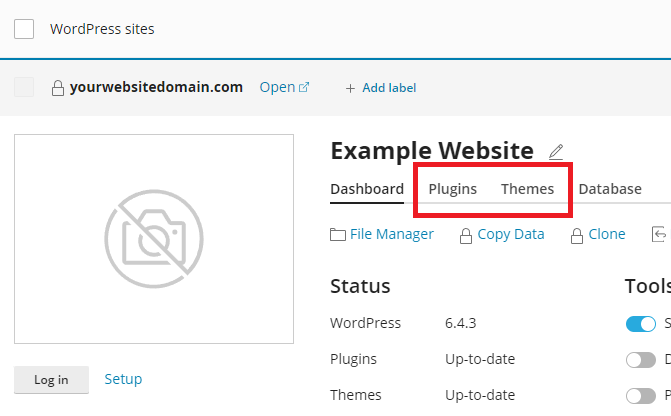
2. A list of currently installed plugins or themes will appear. If updates are available, you’ll see an ‘Updates‘ label beside the relevant items.
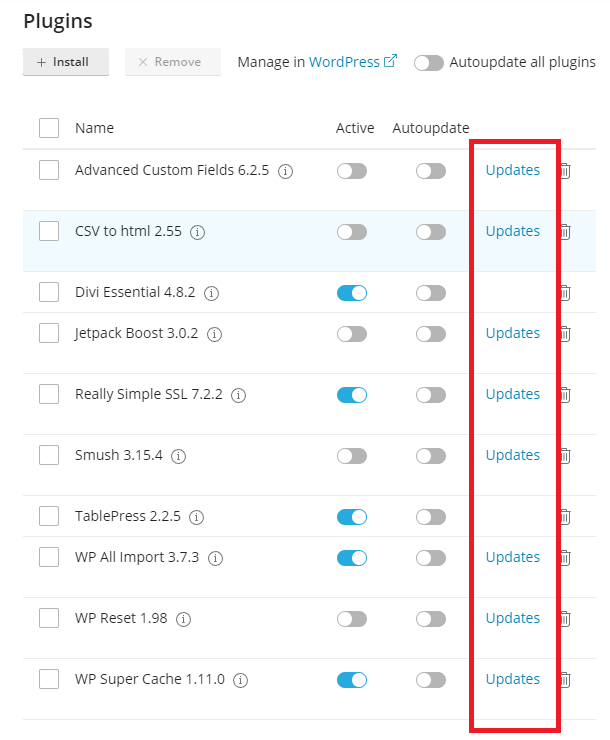
3. Click the ‘Updates’ link to bring up a side panel listing items that can be updated.
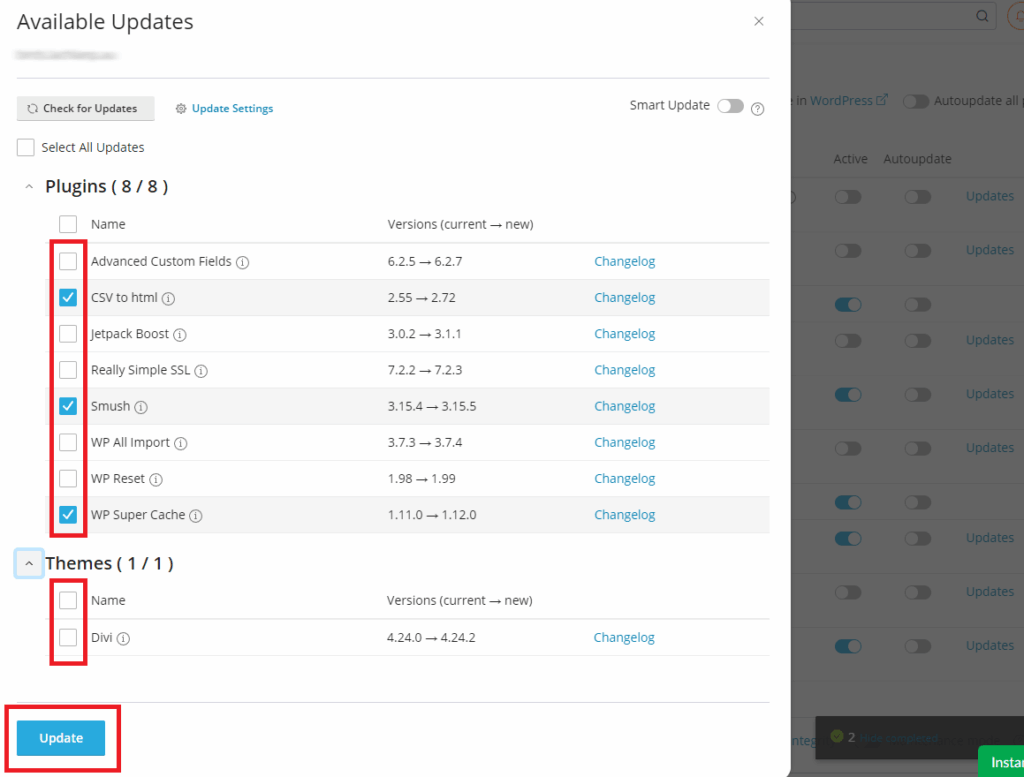
4. Tick the checkbox beside each plugin or theme you want to update. To select all, check the box at the top next to ‘Name‘.
5. Once selected, click ‘Update‘.
6. You’ll see progress notifications and a status bar at the bottom of the screen.
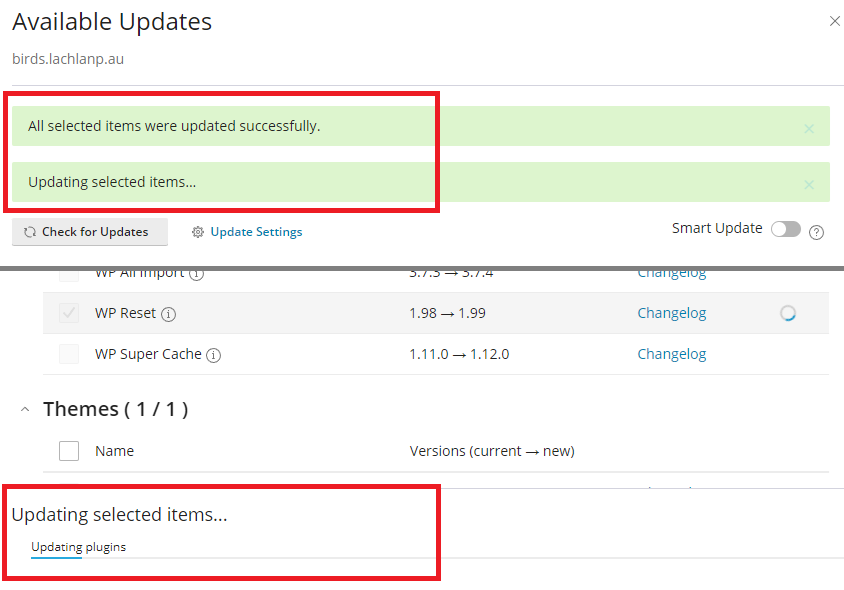
7. When finished, a success message will confirm: “All selected items were updated successfully.”
Note: Premium or licensed plugins may need to be updated manually via the plugin’s author or vendor website.
How to activate or deactivate plugins and themes
Disabling plugins is a common troubleshooting step—especially when issues arise from plugin conflicts or theme incompatibilities. With WordPress Management, it’s quick and easy:
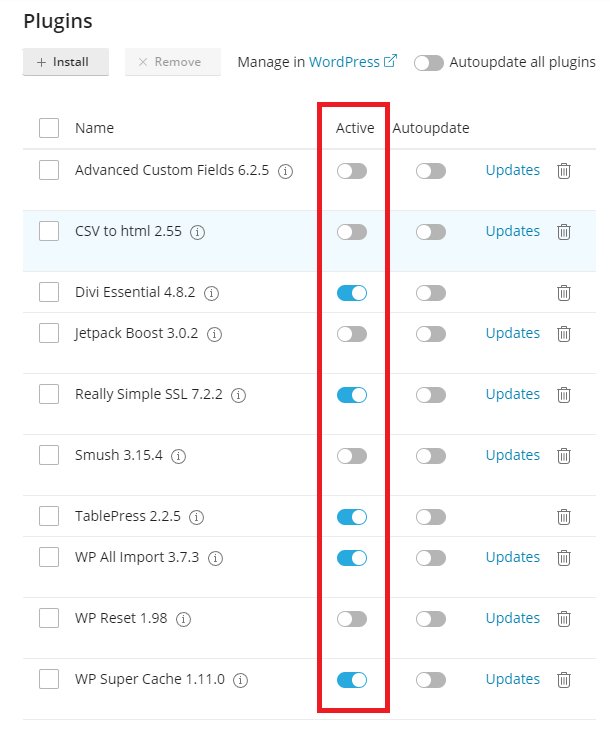
1. Navigate to the Plugins (or Themes) tab.
2. In the “Active” column, each item will have a toggle switch.
3. Click the toggle icon to enable (blue/right) or disable (grey/left) the plugin or theme.
This method is useful if you’re isolating plugin conflicts or trying to fix an issue without logging into the WordPress admin dashboard.
Conclusion
The WordPress Management tool in cPanel offers a streamlined way to manage plugins and themes with WordPress Management, without the need to log into WordPress directly. Whether you’re performing regular updates or diagnosing plugin-related issues, this tool is a convenient solution for keeping your site running smoothly.