Securing your hosting account is essential, and one of the most effective ways to do this is to enable two factor authentication in cpanel. This extra layer of security ensures that even if your password is compromised, unauthorized access to your cPanel account is prevented.
In this guide, you’ll find detailed instructions on how to enable two factor authentication in cpanel, helping you protect your sensitive data and maintain a secure hosting environment. By following these steps, you can significantly enhance the security of your account and safeguard your online presence.
1. Login to cPanel
2. Scroll down to Security and click on “Two-Factor Authentication:

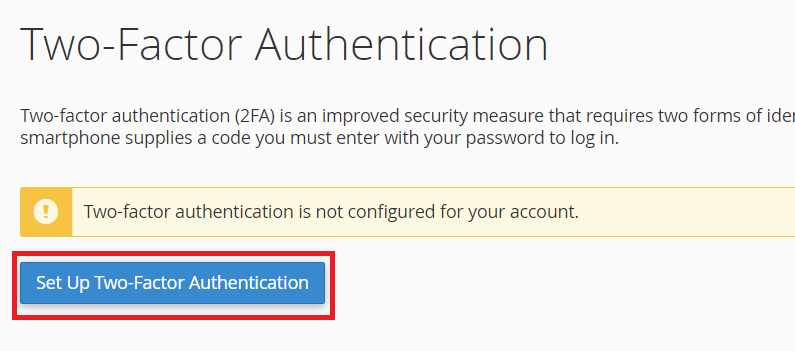
3. Click on “Set Up Two-Factor Authentication”

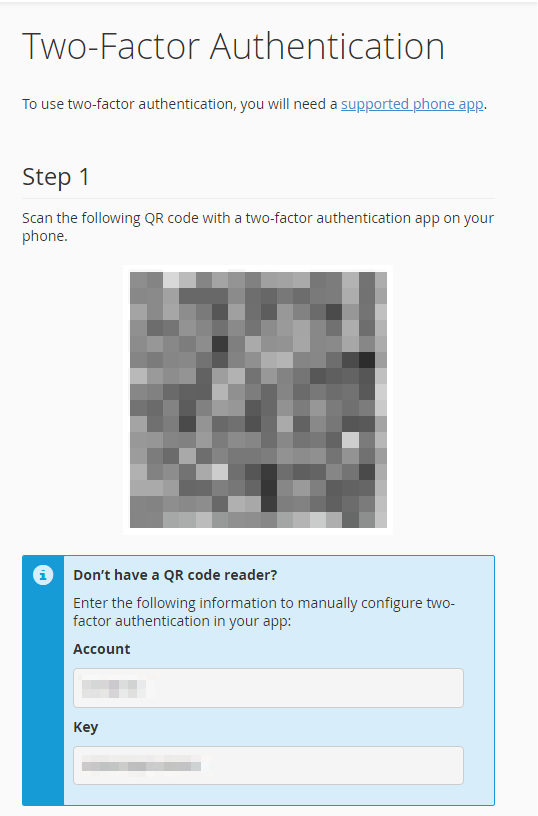
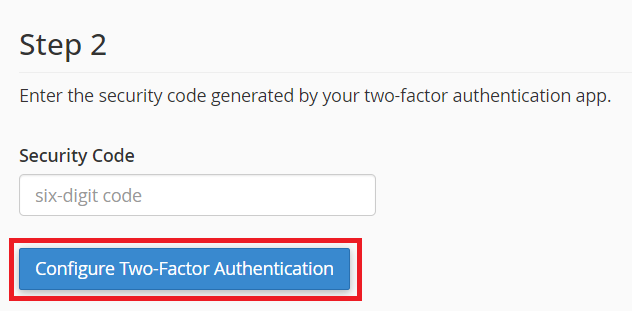
4. Next, you will see a QR code on the screen, prompting you to connect your app. Open your preferred authenticator app (such as Google Authenticator, 1Password, LastPass, etc.), scan the QR code, enter the authentication code from the app, and click ‘Configure Two-Factor Authentication’.


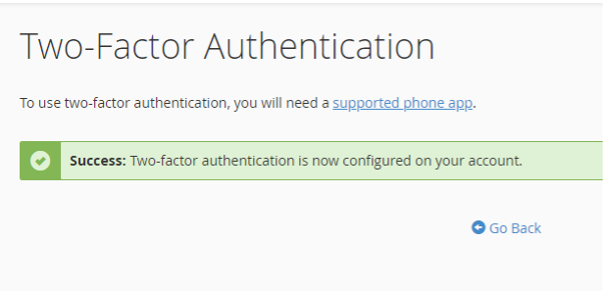
5. Now, you will see the Two-Factor Authentication success page, indicating that it has been set up for your cPanel.

Conclusion: Enable Two Factor Authentication in cPanel #
Enabling two factor authentication in cPanel significantly boosts your hosting account’s security. By adding this extra layer of verification, you protect your account from unauthorized access even if your password is compromised.
Following the steps in this guide empowers you to implement this vital security measure quickly and effectively. With two factor authentication in cPanel active, you safeguard your sensitive data and maintain a secure hosting environment.
