
Managing the active PHP version, extensions, and various PHP options like memory limits, upload sizes, and execution times in your cPanel hosting service is easy with the “PHP Selector” module.
Accessing php settings in cPanel
1. Login to cPanel: If you’re unsure how to access your cPanel, click here for instructions.
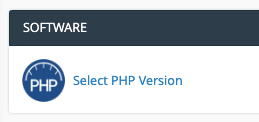
2. Open the ‘Select PHP Version’ module: Navigate to the “Software” section and click on the ‘Select PHP Version’ option.
Changing php version, extensions & options
Change the active php version
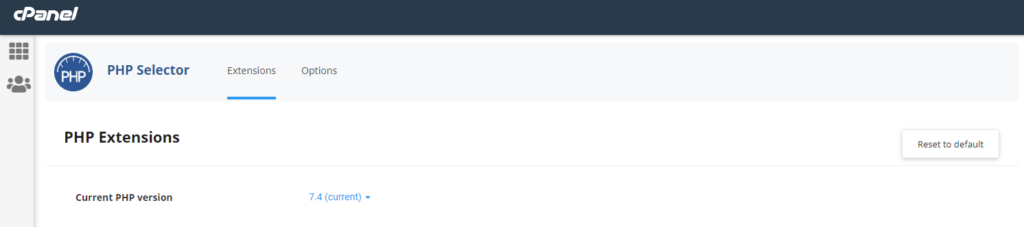
1. In the PHP Selector, you’ll see the current PHP version displayed at the top (e.g., “Current PHP Version: 7.x/8.x“).
2. Choose your desired PHP version from the dropdown menu and click ‘Set as current‘.
Change active php extensions
1. The page will display a list of available PHP extensions for your selected version.
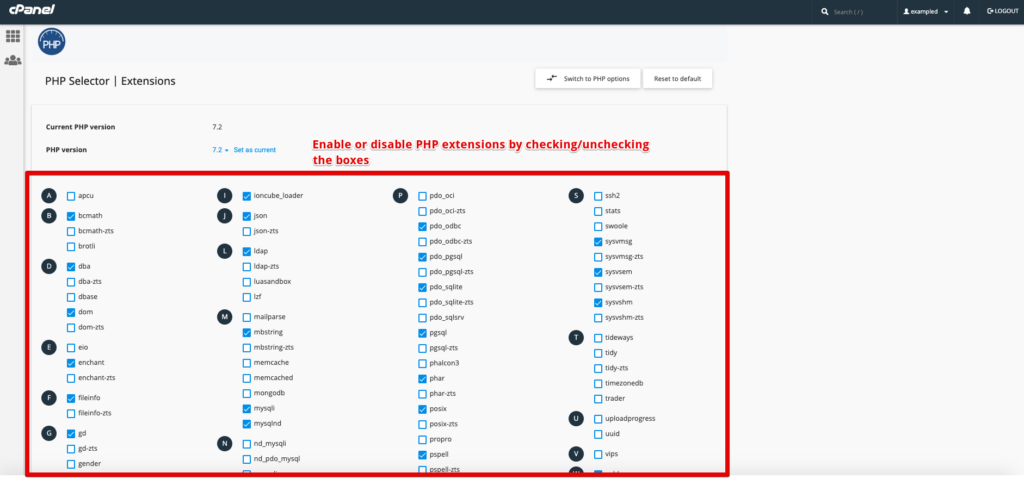
2. Simply tick or untick the checkboxes to enable or disable extensions as needed.
Note: If you wish to restore the default extensions for your PHP version, just click ‘Reset to default‘.
Adjust php options
You can modify specific PHP settings like max_execution_time, max_upload_filesize, and memory_limit with ease.
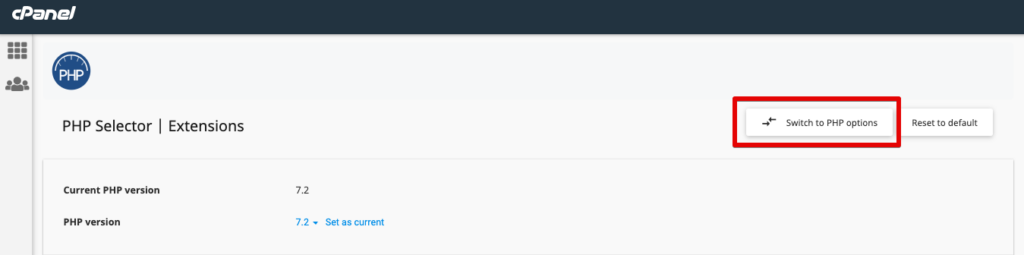
1. Click on ‘Switch to PHP Options‘, usually located to the right of your current PHP version.
2. A list of adjustable options will appear, and any changes you make will save automatically.
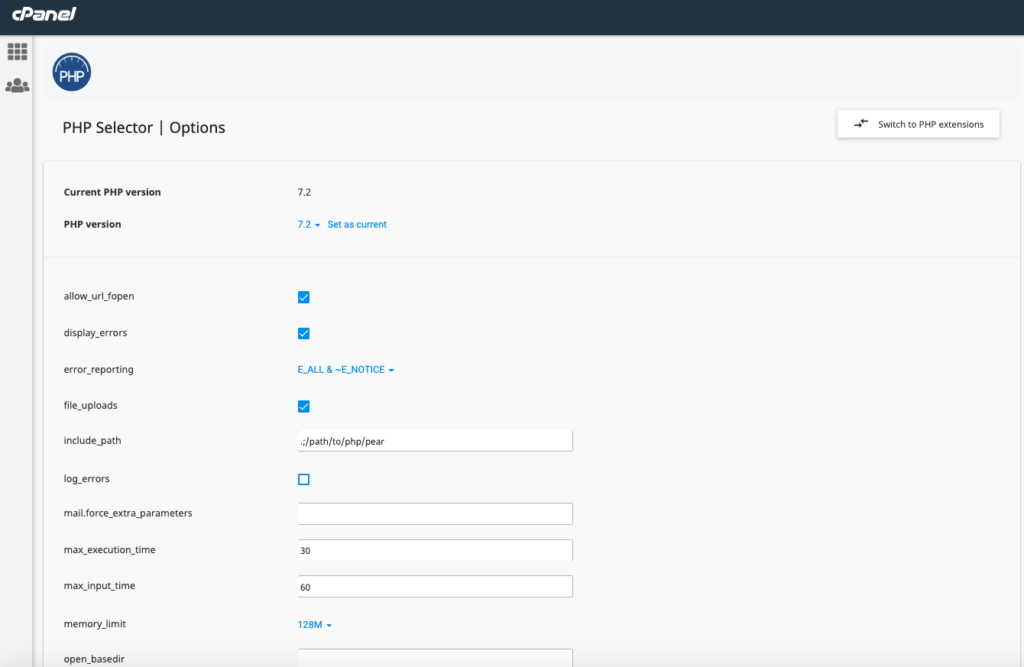
Note: Hover your mouse over each option to see a brief description of its function.
Conclusion
Optimising your website’s performance and ensuring compatibility with the latest software is crucial. With the “PHP Selector” module in cPanel, you can quickly change the active PHP version, enable or disable extensions, and adjust important PHP settings like memory limits, upload size, and execution time. By regularly updating these configurations, you help ensure your website stays fast, secure, and fully compatible with modern web technologies.