
If you’re looking for a way to automatically reply to incoming emails, setting up an autoresponder in cPanel is a simple and effective solution. It helps manage expectations, saves you time, and keeps communication flowing—especially when you’re away or unavailable.
Steps to create autoresponder in cPanel
To get started, follow these easy steps:
1. Log in to your cPanel account: First, sign in to your hosting control panel where your email settings are located.
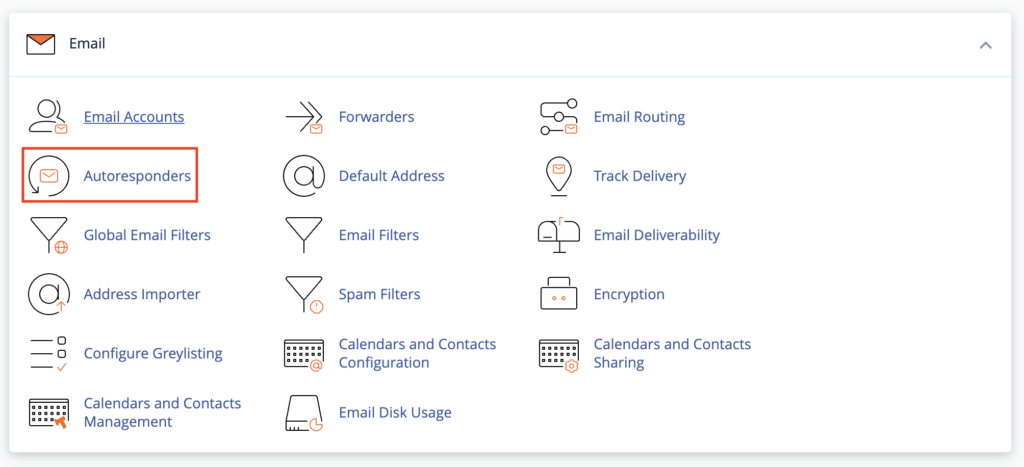
2. Navigate to the ‘Autoresponders’ section: Under the Email section, click on Autoresponders to begin.
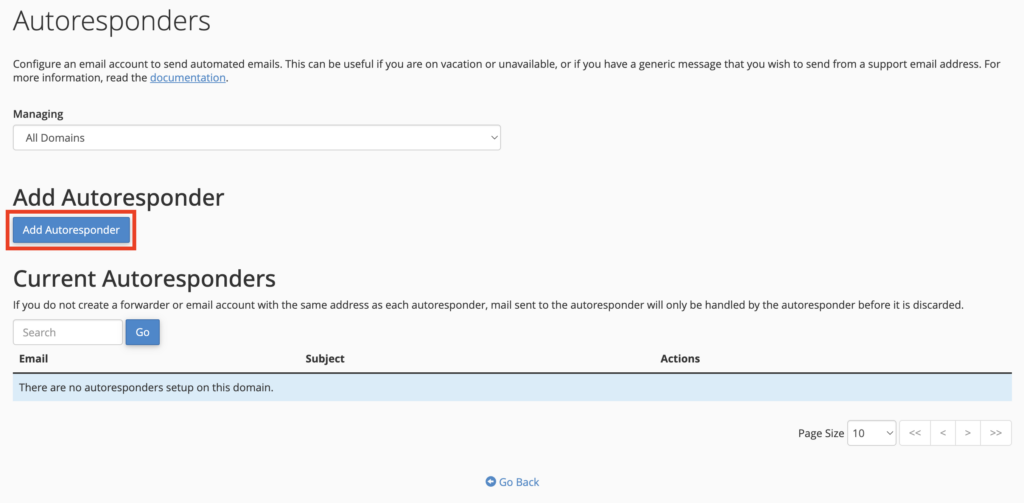
3. Click ‘Add Autoresponder’: Then, you’ll be taken to a page where you can configure your automatic reply.
4. Select your character set: We recommend UTF-8, as it works best across most devices and email systems.

5. Choose your time interval: This setting defines how many hours to wait before sending another response to the same sender.

6. Enter the email address for the autoresponder: Type in the email account where you want the automated replies to be active.

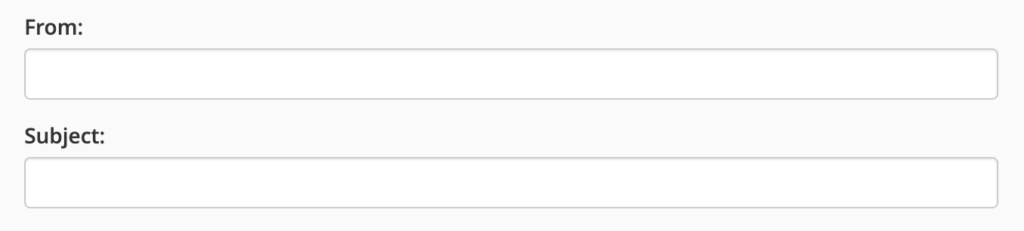
7. Fill in the ‘From’ name and Subject line: These fields let you personalise how your message appears to the recipient.
8. Enable HTML (optional): If your message includes formatting like bold text or links, tick the HTML checkbox.

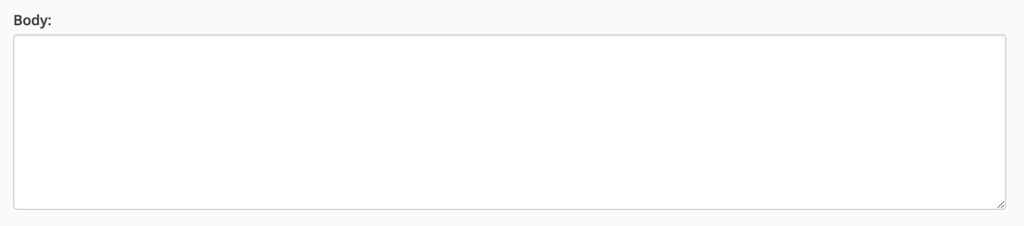
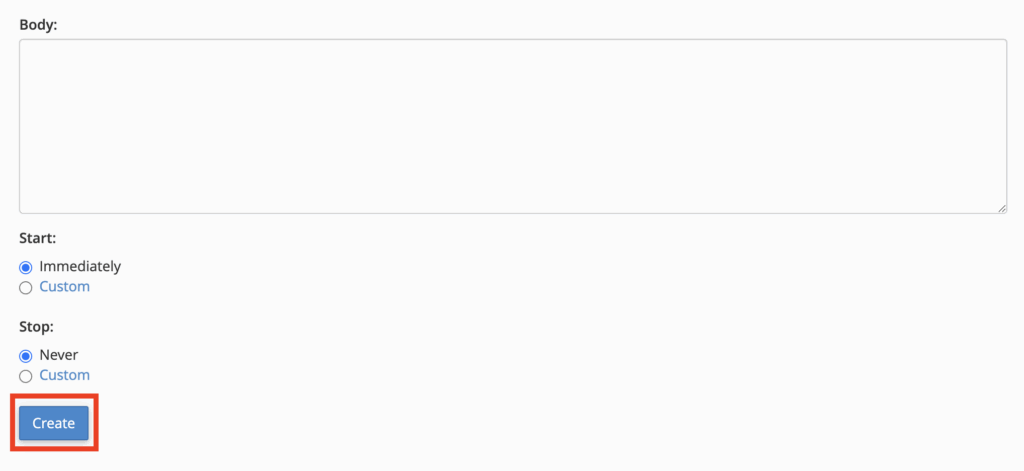
9. Type your message: Write the content of your automated reply in the Body field. Keep it short, clear, and helpful.
10. Set your start time: You can either start the autoresponder immediately or select a future date and time.

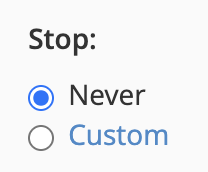
11. Choose when it should stop: Pick Never if you want it to run indefinitely, or set an end date and time.
12. Click ‘Create’: Finally, click the Create button to activate your autoresponder.
Why set up an autoresponder in cPanel?
By creating an autoresponder in cPanel, you:
- Keep contacts informed automatically
- Maintain a professional image when you’re unavailable
- Reduce missed messages or follow-ups
- Save time by managing replies efficiently
Need help setting it up?
If you’re unsure which settings to choose, or want to double-check that everything’s working correctly, the Network Dynamics support team is here to help. Simply reach out, and we’ll walk you through the setup or troubleshoot any issues.