In this guide, you’ll learn how to configure SSH on CloudPanel and establish a secure SFTP connection. Additionally, this process ensures your files remain safe and easily accessible, providing robust security for your data.
To access the files on your CloudPanel (CLP) server remotely, you can connect via SFTP, a more secure alternative to FTP (As a security precaution, FTP is not enabled by default).
You’ll first need to create SSH users in order to access the server remotely and securely.
Creating SSH / SFTP Users #
NOTE: Steps to create a new SSH user will vary slightly depending on which version of CloudPanel (CLP) is running on your server.
To get started, log in to your CloudPanel server and determine which version of CloudPanel (CLP) your server is using.
2. Navigate to ‘Sites‘ from the top menu
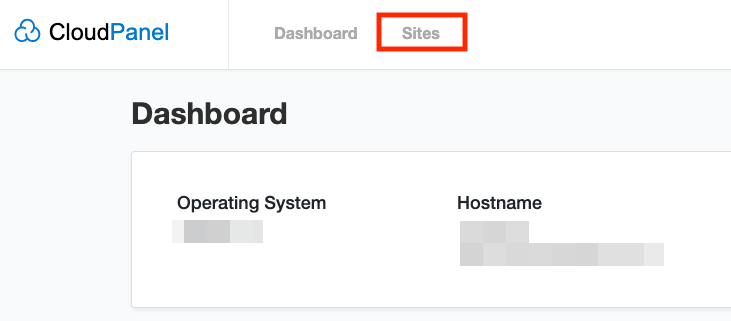
3. From the list of sites, click ‘Manage‘

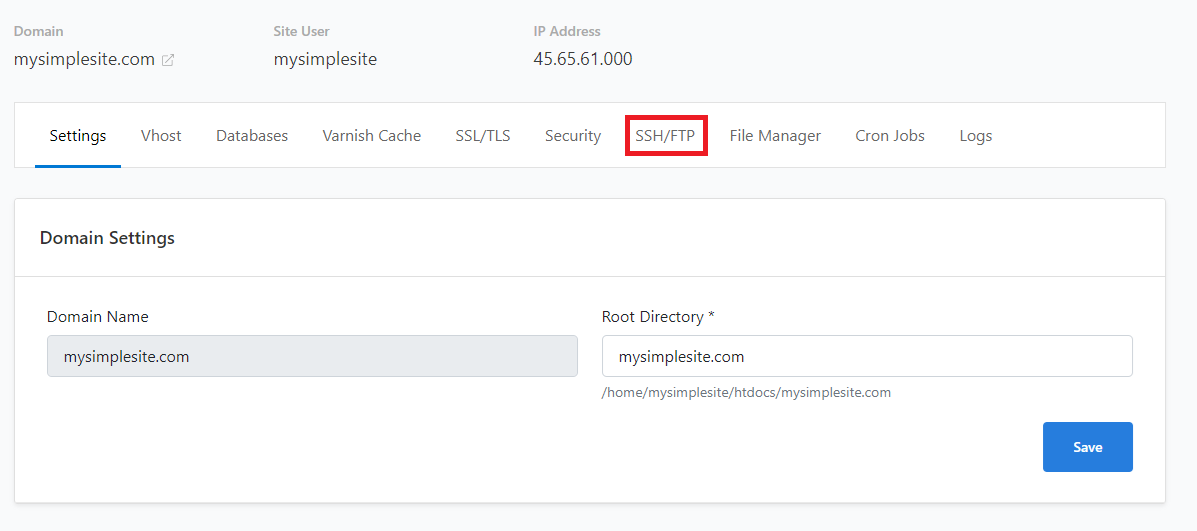
4. After completing the previous step, please click the ‘SSH/FTP’ tab to continue. In doing so, you’ll move closer to managing your SSH and FTP settings.
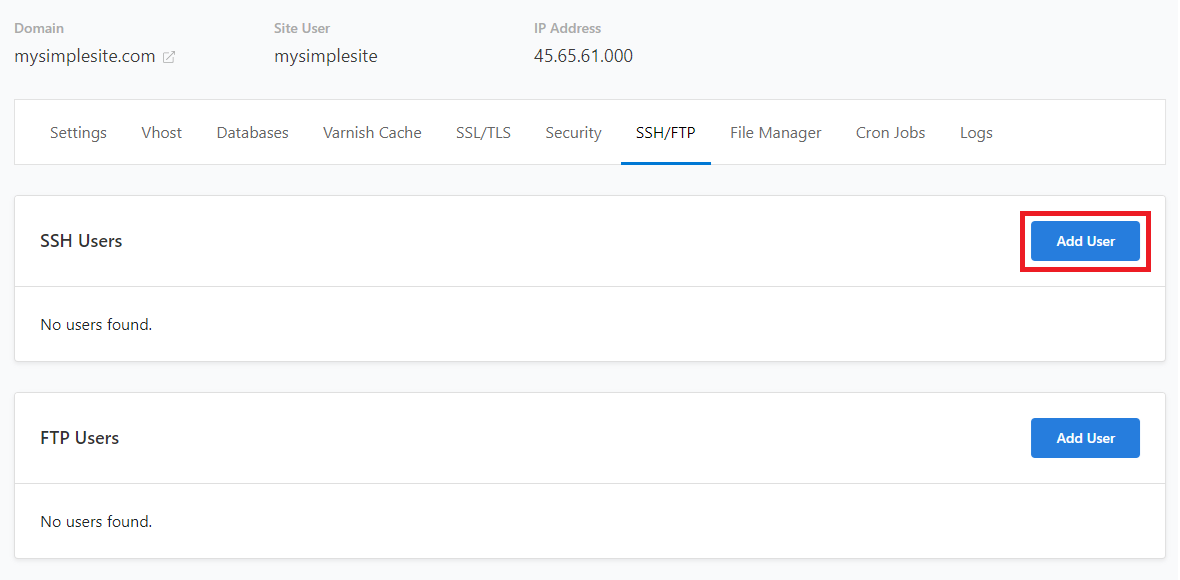
5. Then click on ‘Add User‘ in the “SSH Users” section
6. Enter a username and password for the new SSH user. Additionally, if you prefer a random password, click “Generate New Password” to create one.
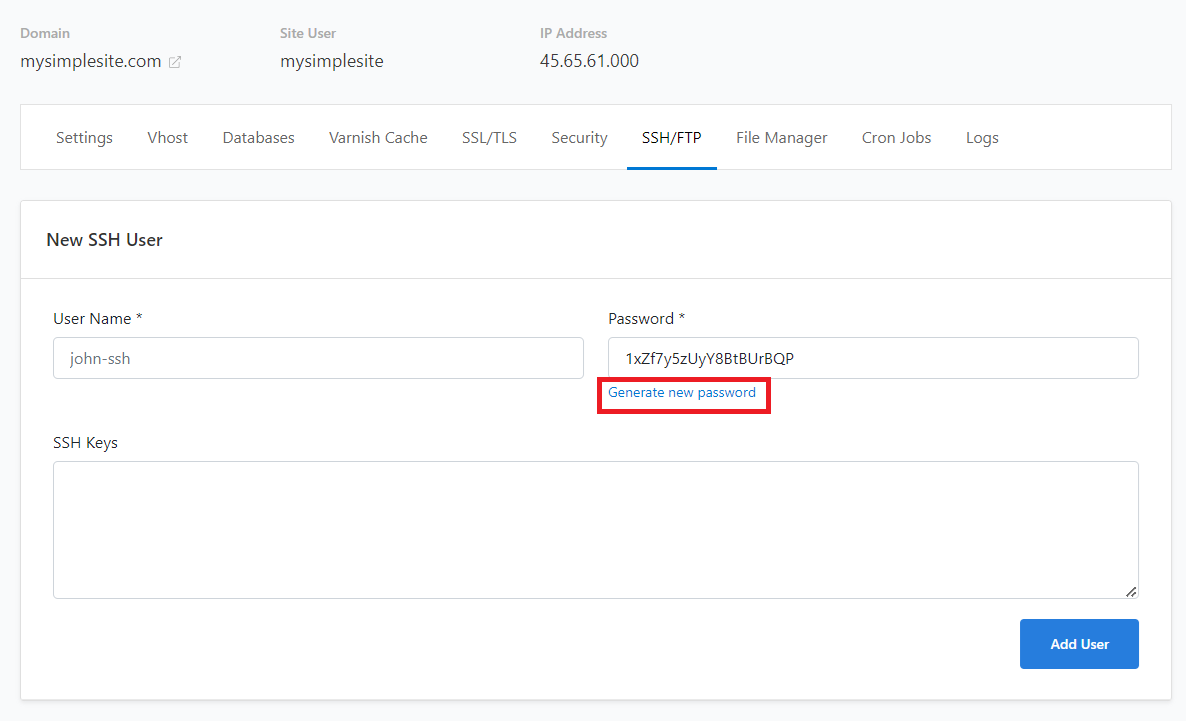
7. Adding public SSH key(s) is optional. Leave this blank if not using.
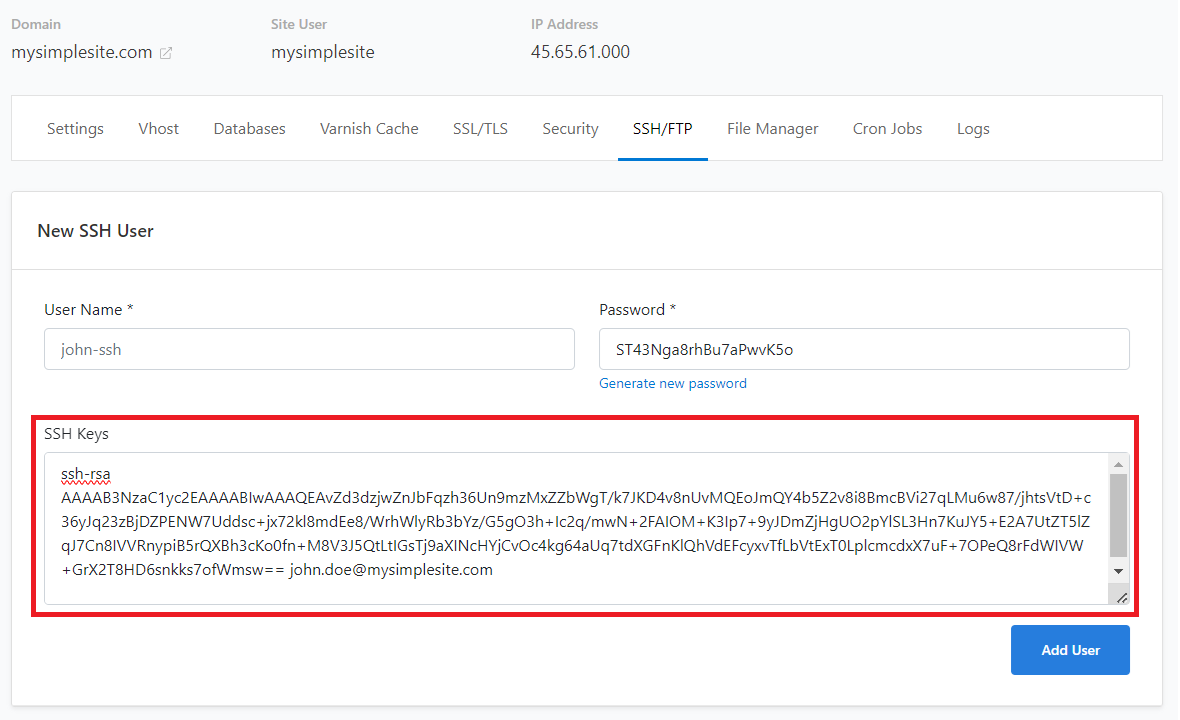
8. Click ‘Add User‘ when you’re done to save the SSH user details.
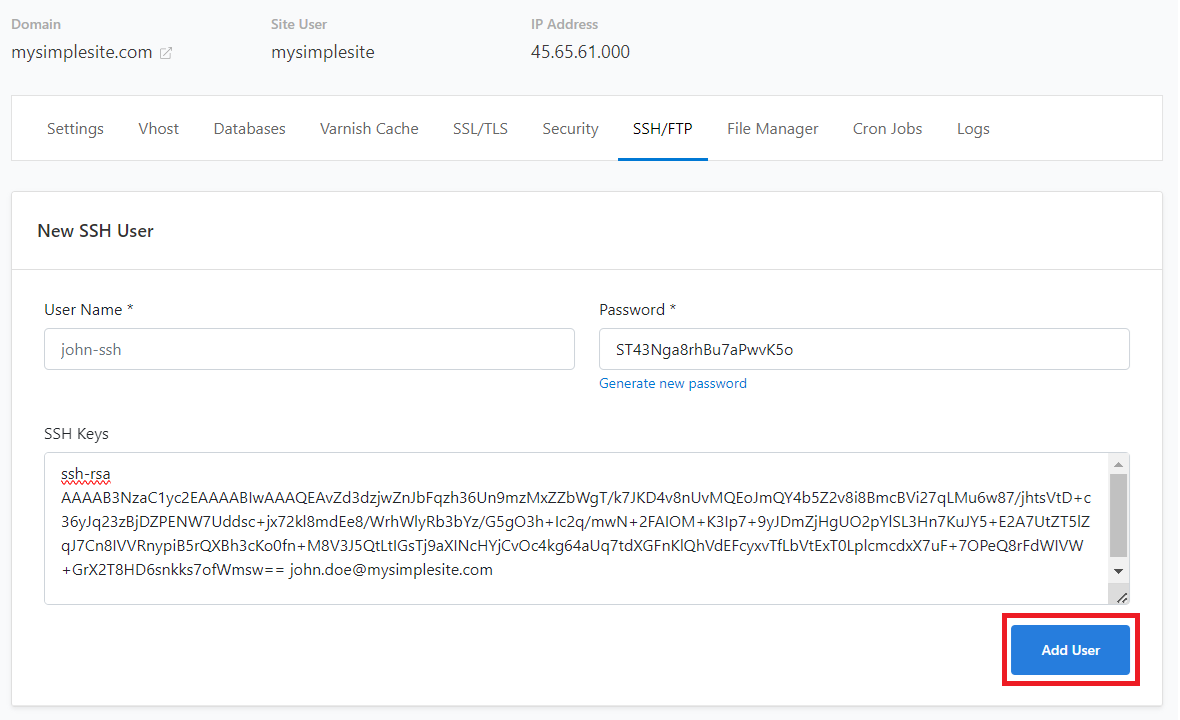
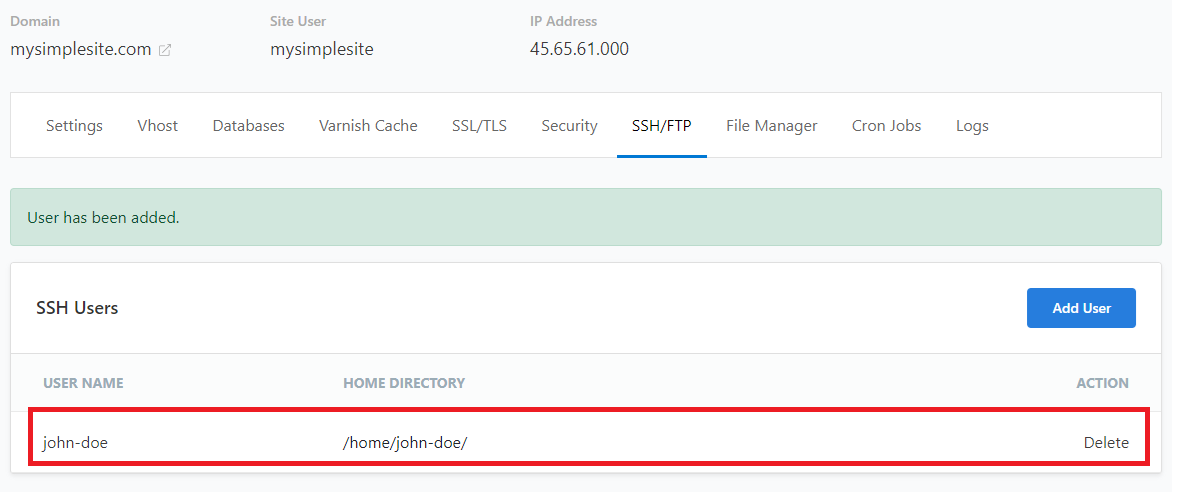
9. Once you’ve saved your changes, you’ll see the list of SSH users.
(you can also remove existing users by clicking ‘Delete’ next to their name in the list)
Configure SSH: Conclusion #
Mastering how to configure SSH on CloudPanel significantly boosts your security and simplifies your SFTP connections. Ultimately, by following these steps, you ensure your files remain safely accessible while maintaining robust protection for your data.
